Posted on 1 Comment

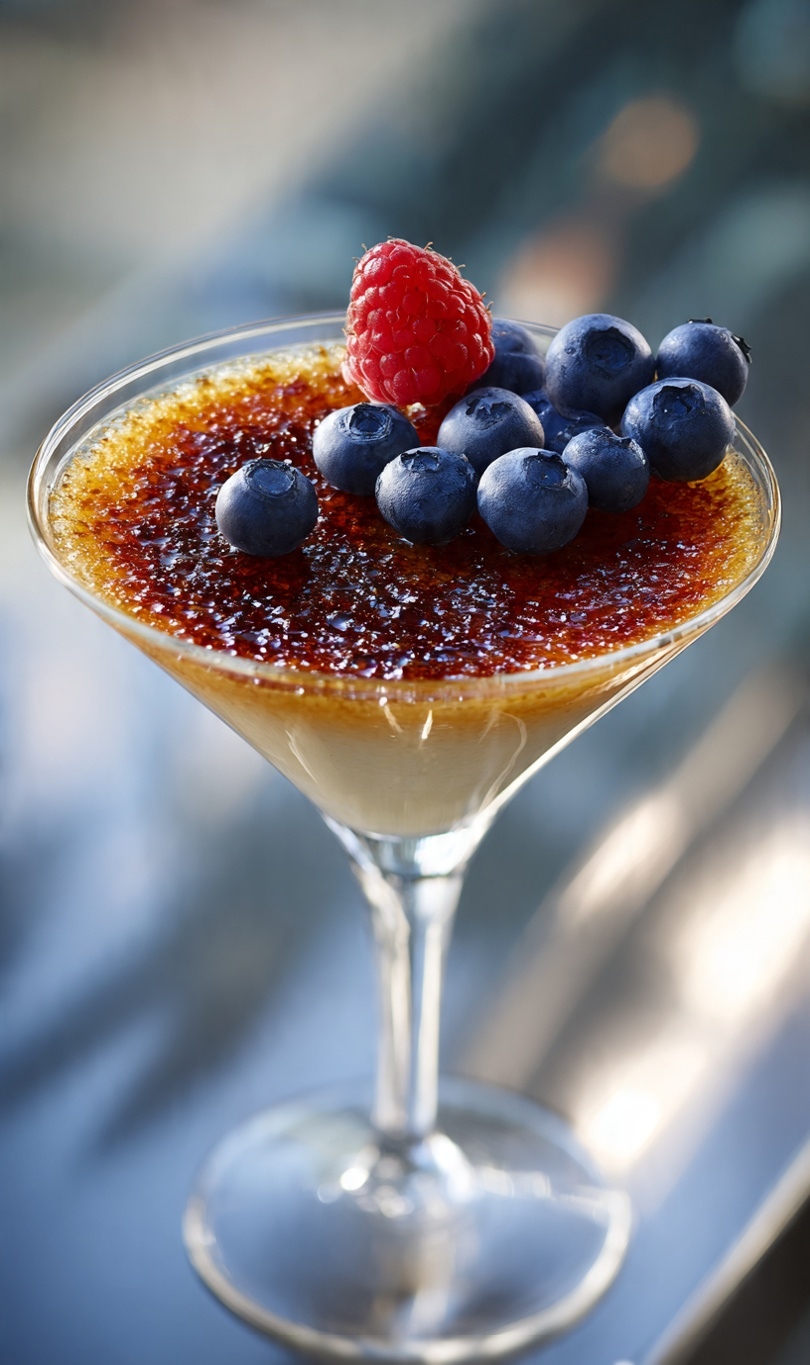
How to Make Crème Brûlée — The Perfect Crack Every Time

★ French Classic ★

How to Make Crème Brûlée

The Perfect Crack  ·  Every Time

Silky vanilla custard beneath a flawless caramelised sugar crust that shatters at the tap of a spoon. This is the exact recipe, temperature, and torch technique used in French restaurants — perfected for your home kitchen.

⏱ Prep: 15 mins  ·  Bake: 35 mins  ·  Chill: 4 hrs  ·  ⭐ Difficulty: Easy–Intermediate

▶ Watch the Technique

What Makes a Perfect Crème Brûlée

Crème brûlée is one of the most iconic French desserts for a reason — it is the perfect marriage of contrasting textures. The custard must be set but trembling, cold at its core, and intensely vanilla. The sugar crust must be paper-thin, perfectly amber, and crack cleanly without any bitterness from over-caramelisation.

Most failures come down to three things: wrong cream-to-yolk ratio, incorrect oven temperature, or poor torch technique. This recipe eliminates all three variables with precise measurements and method.

What You Will Need

✔️ 6 egg yolks (large, room temperature)
✔️ 600ml double cream (heavy cream)
✔️ 80g caster sugar + extra for the crust
✔️ 1 vanilla pod (or 2 tsp high-quality vanilla extract)
✔️ Pinch of fine sea salt

Equipment: 4–6 ramekins, roasting tin, kitchen torch, digital thermometer


The Method

01 — Infuse

Split the vanilla pod and scrape the seeds into the cream. Add the pod. Heat gently to just below simmering (82°C) — do not boil. Remove from heat and infuse for 15 minutes. Remove the pod.

02 — Whisk

Whisk egg yolks and sugar together until pale and slightly thickened — about 2 minutes. Do not over-whisk; you want as few air bubbles as possible for a smooth custard.

03 — Temper

Pour the warm cream slowly into the yolk mixture, stirring constantly. Never the reverse. Strain through a fine sieve to remove any cooked egg and vanilla pod remnants. Skim the foam.

04 — Bake

Pour into ramekins set in a roasting tin. Fill the tin with hot water to halfway up the ramekins. Bake at 150°C (fan 130°C) for 30–35 minutes until set with a gentle wobble at the centre.

05 — Chill

Remove from the water bath. Cool to room temperature, then refrigerate for a minimum of 4 hours or overnight. The custard must be completely cold before torching.

06 — Torch

Sprinkle a thin, even layer of caster sugar (1–1.5 tsp) over each custard. Torch in slow, circular motions from 5cm above until deep amber. Allow to set for 60 seconds before serving.

The Temperature Guide

Cream Infusion

82°C

Just below simmer. Never boil.

Oven Temperature

150°C

Fan 130°C. Low and slow.

Set Custard Core

77°C

Internal temp when done.

Sugar Caramelisation

160°C

Amber, not dark brown.


Torch Technique — The Secrets

Sugar Layer Thickness

One thin, even layer is all you need — approximately 1 to 1.5 teaspoons per ramekin. Too thick and the sugar stays pale in the centre while the edges burn. Tilt the ramekin to distribute evenly before torching.

Torch Distance & Motion

Hold the torch 5cm from the surface. Move in slow, overlapping circular motions — never hold it still. The goal is even caramelisation across the entire surface. Watch for the colour: pale gold to deep amber is the window. The moment you see any smoke, move away.

Double Layer Trick

For an extra-thick, ultra-crisp crust: torch the first layer, let it cool for 30 seconds, add a second thin layer of sugar, and torch again. This is the professional technique for a crust that holds its snap even after a few minutes on the table.

Troubleshooting

Custard won’t set

Oven too hot, water bath too shallow, or ramekins too deep. Reduce oven by 10°C and extend baking time. The wobble test: jiggle the ramekin — only the very centre should move.

Grainy or curdled texture

Cream was too hot when added to yolks, or oven was too high. Always temper slowly and always bake in a water bath. Strain the mixture before pouring.

Sugar won’t caramelise evenly

Layer too thick, custard not cold enough, or torch too far away. Ensure the custard is fridge-cold, sugar layer is thin, and torch is at 5cm maximum distance.

Crust goes soggy

Serve immediately after torching. The crust will begin to absorb moisture from the custard within 10–15 minutes. Torch at the table for maximum drama and perfect crack.

★ Continue the Series ★
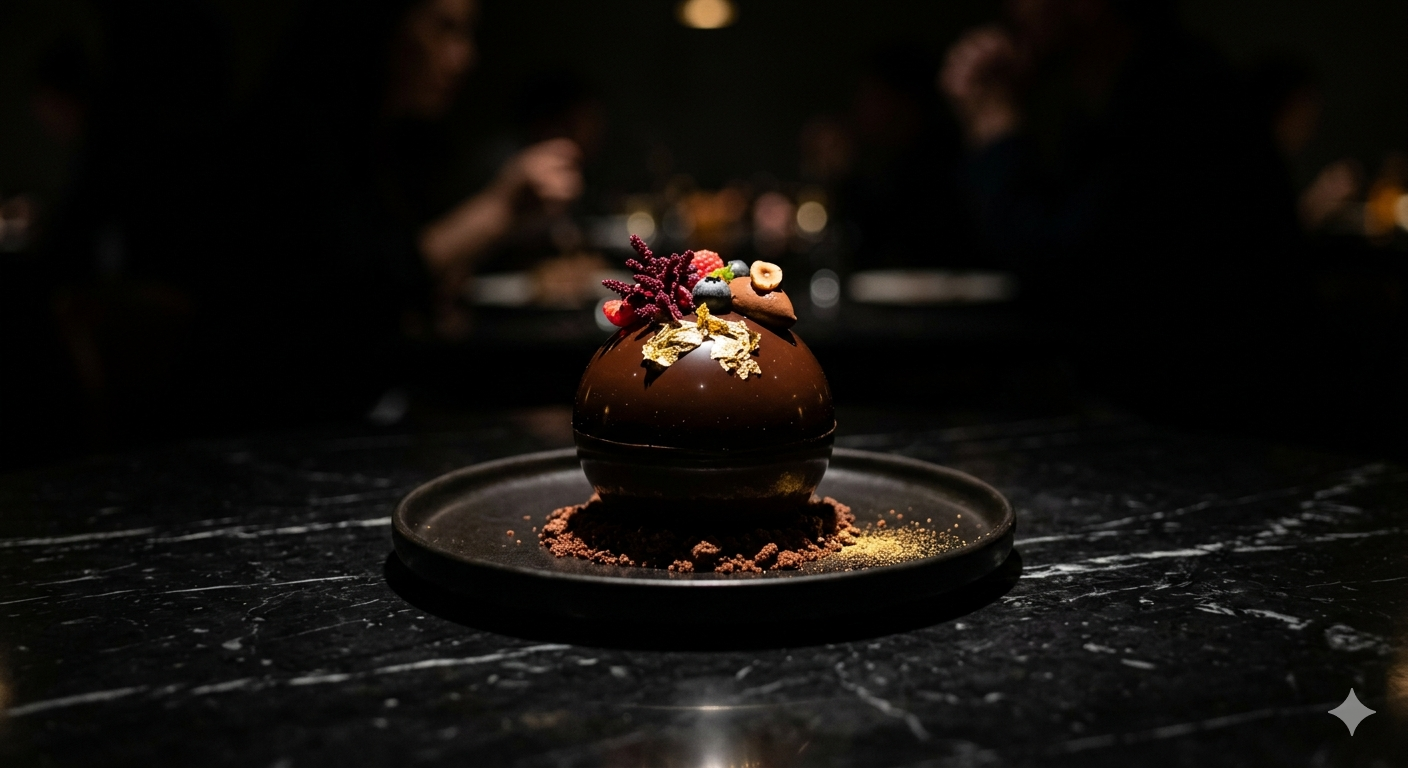
More Michelin Star Recipes

Posted on

The Art of Michelin Star Desserts — The Complete Guide

✦ All Cookings ✦

The Art of Michelin Star Desserts

The Complete Guide

Professional techniques. Restaurant-quality results. Every secret the pastry chefs don’t tell you — explained clearly, so you can execute them in your own kitchen.

What is a Michelin Star Dessert?

A Michelin star dessert is not simply a very good dessert. It is a composed, multi-element plate in which every component — texture, temperature, flavour, colour, and structure — has been considered and calibrated to work in concert. When you eat one, you are not just tasting ingredients. You are experiencing a piece of culinary architecture.

The Michelin Guide has awarded stars to restaurants since 1926. A one-star restaurant is defined as “a very good restaurant.” Two stars: “excellent cooking, worth a detour.” Three stars: “exceptional cuisine, worth a special journey.” The dessert course in a starred kitchen must meet the same standard as every other course — and in many of the world’s greatest restaurants, it is the dessert that the diner remembers longest.

What separates these desserts from everything else is not magic or impossible technique. It is knowledge, precision, and intent. And all three are learnable.


The 5 Principles Behind Every Michelin Star Dessert

01 — Texture Contrast

Every great plated dessert has at least three distinct textures — typically something crisp, something creamy, and something aerated or liquid. The interplay between them is what makes each bite dynamic and engaging.

02 — Temperature Contrast

Hot and cold on the same plate is one of the most powerful tools in the pastry kitchen. A warm fondant beside a cold ice cream quenelle. A room-temperature ganache against a frozen aero. Temperature contrast creates drama and surprise.

03 — Flavour Coherence

Every element must earn its place through flavour. A garnish that adds nothing but colour is a missed opportunity. In a Michelin kitchen, even the micro herb is chosen for taste, not decoration. Ask of every element: does this make the plate taste better?

04 — Visual Composition

A Michelin plate is plated off-centre, with deliberate negative space. Elements are placed with tweezers and spoons, not poured or dumped. The plate is a canvas. Three well-placed elements always beat six carelessly scattered ones.

05 — Conceptual Narrative

The best Michelin desserts have a story. Île Flottante is about lightness and French classicism. The Popcorn Cinema Homage is about nostalgia. Fluido is about the moment of revelation. Your dessert should be able to be explained in one sentence — and that sentence should create anticipation before the first bite.

Essential Techniques You Need to Master

Before attempting a composed Michelin dessert, there are a handful of foundational techniques that appear again and again across the entire repertoire. Master these and most professional recipes become accessible.

Crème Anglaise

The mother sauce of the pastry kitchen. Master this and you can make ice cream, mousse, bavarois, crème brûlée, and île flottante. Cook to exactly 82°C, never more. Use a digital thermometer.

Tempered Ganache

The foundation of every chocolate-based Michelin dessert. The ratio of cream to chocolate and the temperature at which you combine them determines whether you get a pourable sauce, a spreadable ganache, or a sliceable délice.

Italian Meringue

Hot sugar syrup poured into whipping egg whites creates a stable, glossy, safe meringue that holds for hours. Used in île flottante, lemon tart, macarons and dozens of other classical preparations. Target 121°C for the syrup.

Spherification

Sodium alginate + calcium chloride = liquid-filled pearls that burst on the tongue. Used in the Earl Grey & Yuzu Texture Study. Once understood, this technique opens up endless flavour possibilities.

Aero / Siphon Technique

An iSi cream whipper charged with N₂O cartridges transforms any liquid into a foam, espuma, or aerated solid. Used in the Popcorn Cinema Homage, Liquorice & Carrot, and Dulcey & Hazelnut Architecture.

Quenelle

The three-spoon technique for creating a smooth, pointed oval of ice cream, mousse or sorbet. It is the single most visible marker of professional plating. Practice with mashed potato before attempting with ice cream.

The Professional Pastry Toolkit

You do not need a professional kitchen. But you do need the right tools. These are the items that appear in every Michelin dessert recipe on this site — invest in them once and use them for years.

Non-Negotiable

Digital thermometer
iSi cream siphon (0.5L)
N₂O cartridges
Silicone hemisphere moulds
Fine mesh sieve
Plating tweezers

Strongly Recommended

Ice cream machine
Stand mixer
Piping bags + nozzle set
Kitchen blowtorch
Digital scale (0.1g precision)
Offset spatula

For Advanced Techniques

Sodium alginate
Calcium chloride
N-Zorbit M (tapioca maltodextrin)
Agar-agar powder
Edible gold leaf sheets
Dariole moulds

★ The Collection

All Michelin Star Series Recipes

Every recipe in the series — from foundational French classics to technically ambitious composed plates.

Fluido Egg Yolk Fondant

★ Expert · 3 hours

A warm golden fondant with a flowing egg yolk and white chocolate core. The most dramatic reveal in the collection.

Read Recipe →

Popcorn Cinema Homage

★ Expert · 4 hours

Every flavour and texture of the cinema experience, rebuilt through Michelin fine dining technique.

Read Recipe →

Dulcey & Hazelnut Architecture

★ Expert · 4 hours

One ingredient — the hazelnut — explored across five textures simultaneously on a single plate.

Read Recipe →

Earl Grey & Yuzu Texture Study

★ Advanced · 3 hours

Ganache, jelly, dacquoise and spherification pearls — molecular gastronomy in service of pure flavour.

Read Recipe →

Liquorice and Carrot

★ Advanced · 2 hours

The great underexplored pairing of earthy liquorice and sweet carrot — a plate of extraordinary elegance.

Read Recipe →

Ile Flottante

★ Advanced · 45 mins

The crown jewel of French classical patisserie — billowing meringue on silky crème anglaise with spun caramel.

Read Recipe →

Valrhona Chocolate Delice

★ Advanced · 45 mins + chill

The silkiest Valrhona chocolate ganache tart in fine dining — finished with edible gold leaf and raspberry coulis.

Read Recipe →

Crème Brûlée

★ Intermediate · 1 hour

Silky vanilla custard with a flawless caramelised sugar crust — the exact temperatures and torch technique used in French restaurants.

Read Recipe →

How to Plate Like a Michelin Chef

Plating is not decoration. It is the final act of cooking — and it communicates everything about your intention and skill before the first bite is taken.

Rule 1 — Warm the Plate

Every hot component goes on a warm plate — 40°C in an oven for 5 minutes. A cold plate drops the temperature of your dessert immediately and kills the eating experience.

Rule 2 — Off-Centre

Never place the main element in the dead centre of the plate. Place it at roughly 7–8 o’clock on a round plate. This creates visual movement and negative space.

Rule 3 — Three Elements Maximum

On a small plate, three well-placed elements are always more powerful than six scattered ones. Restraint is sophistication. If you have more components, group them intentionally.

Rule 4 — The Sauce Swoosh

The classic Michelin sauce placement is a bold arc — a large spoon placed at one point, then pulled across the plate in a sweeping motion. It should be confident, not tentative. Practice on a cold plate first.

Rule 5 — Use Tweezers

Plating tweezers are not optional. Gold leaf cannot be placed by hand. Micro herbs cannot be positioned by hand. Pearls cannot be arranged by hand. Buy a pair of 20cm stainless tweezers and use them for every garnish.

Rule 6 — Clean the Rim

Before the plate leaves the pass, wipe the rim with a clean, damp cloth. Any sauce drop or smear on the rim signals carelessness. In a Michelin kitchen this is never skipped — and it should never be skipped at home.

★ All Cookings Shop

Take Your Skills Further

Download the complete professional recipe guides — full ingredient quantities, exact temperatures, step-by-step methods and plating diagrams for every dessert in the Michelin Star Series.

Browse the Shop →

Posted on

Black Sesame Paris-Brest — The Laminated Luxury Series

The Laminated Luxury Series — No. 4 of 8

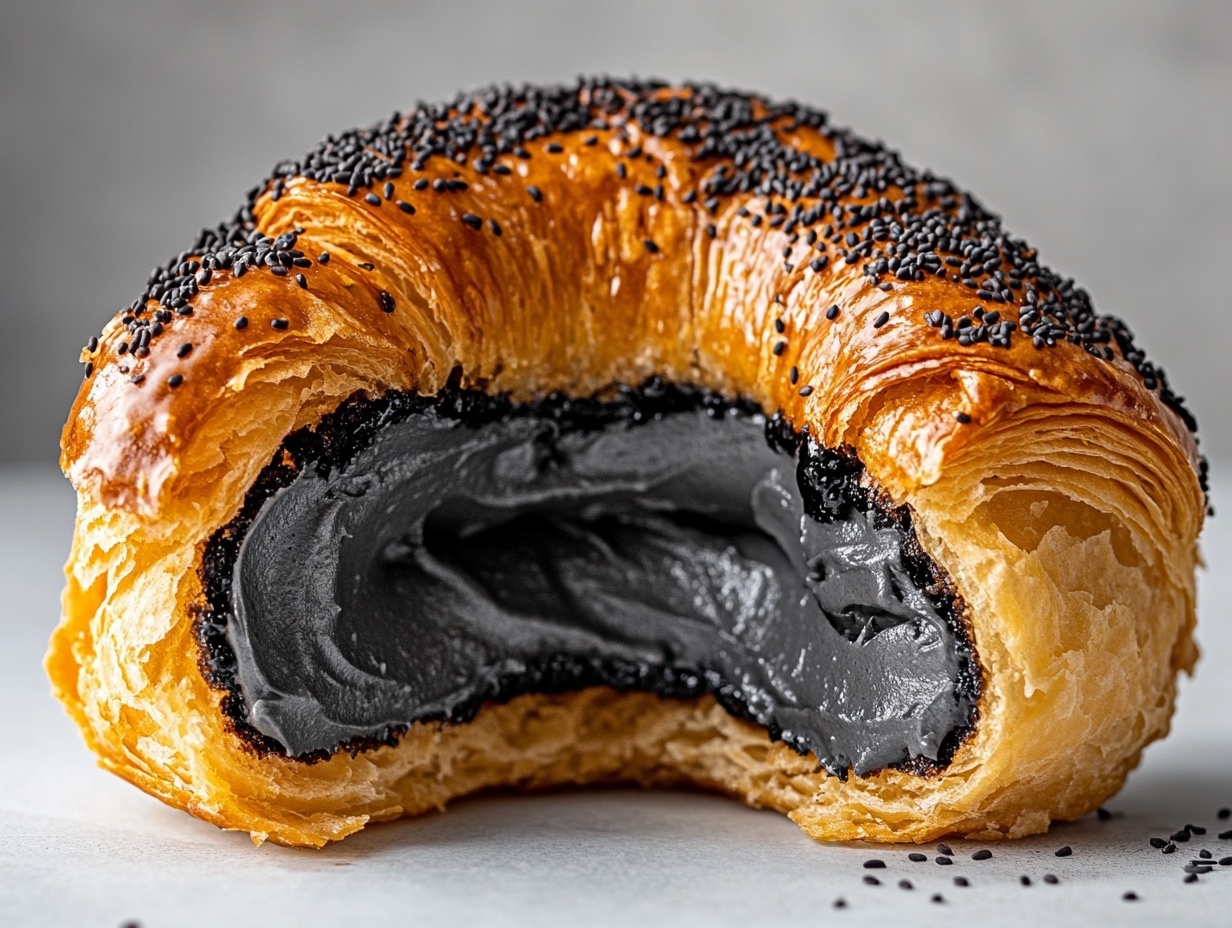
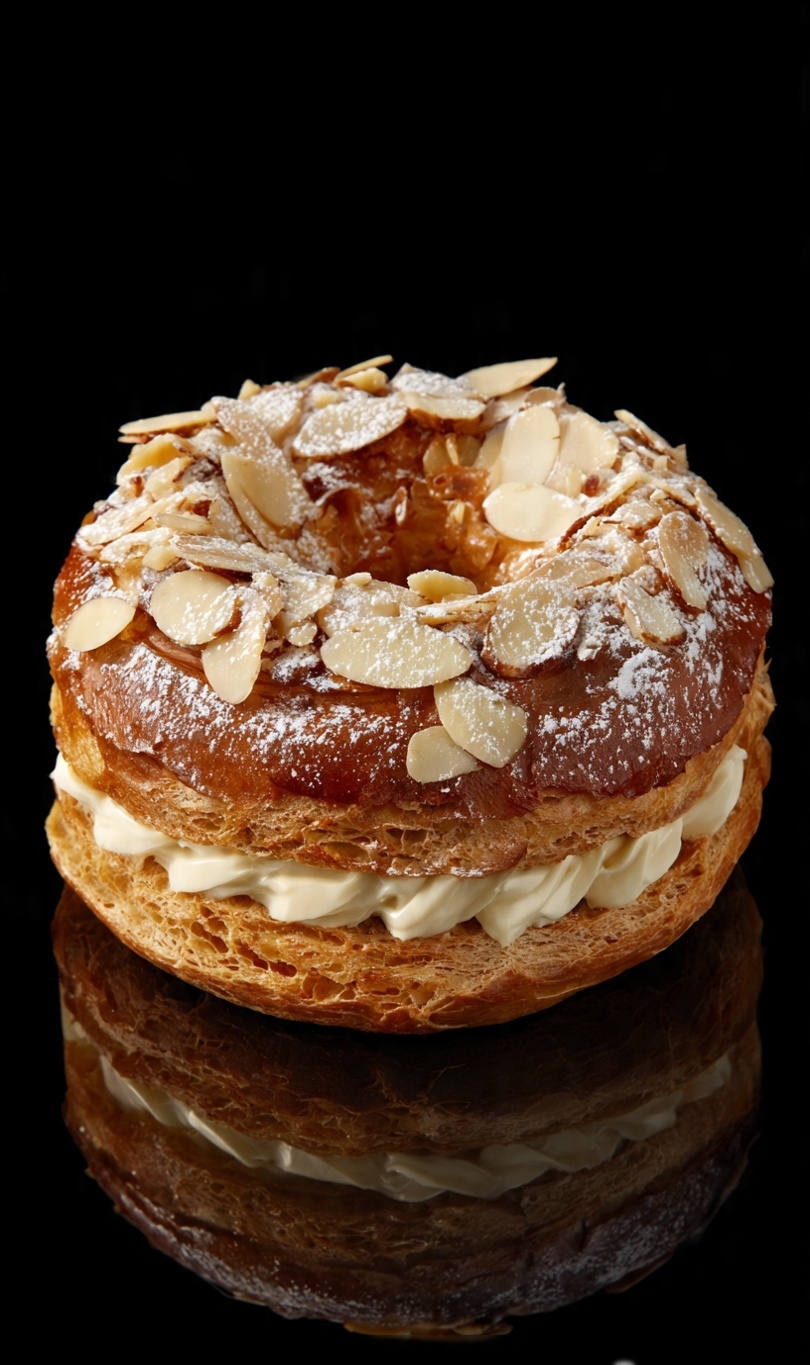
The Paris-Brest was created in 1910 to celebrate a bicycle race between Paris and Brest. Its ring shape echoes a wheel. This version abandons the traditional praline filling in favour of something darker — a black sesame praline cream with a depth and nuttiness that makes the original feel one-dimensional.

The pastry itself is a hybrid: choux dough piped over a laminated croissant base, baked together until the exterior shatters and the interior yields. A charcoal glaze seals it. Silver dust finishes it. This is the series at its most architectural.


Chef’s Note

Black sesame paste is not the same as tahini. It is roasted until deeply nutty, almost bitter, with an earthiness that pairs beautifully with the richness of the praline cream. Source a quality paste — the difference between a good black sesame paste and a poor one is significant. If making your own, toast the seeds until fragrant and blend with a neutral oil until smooth.

The charcoal glaze is activated charcoal mixed into a mirror glaze base. It has no flavour impact — it exists purely for the visual drama of the near-black surface against the silver dust.


Ingredients

The Croissant Base

  • 500g strong bread flour
  • 10g fine sea salt
  • 80g caster sugar
  • 10g instant yeast
  • 300ml whole milk, cold
  • 30g unsalted butter, softened
  • 280g European-style unsalted butter (84% fat), cold — for lamination

Black Sesame Praline Cream

  • 120g black sesame paste
  • 80g praline paste (hazelnut or almond)
  • 400ml whole milk
  • 4 egg yolks
  • 100g caster sugar
  • 35g cornflour
  • 30g unsalted butter, cold
  • 250ml double cream, whipped to soft peaks

Charcoal Glaze & Finish

  • 150g dark mirror glaze
  • 1 tsp activated charcoal powder
  • 1 egg yolk + 1 tbsp cream (egg wash)
  • Edible silver dust
  • Black sesame seeds, for topping

Method

Laminate the dough over two days using three double folds. Roll to 4mm and cut rings using 14cm and 5cm cutters. Proof at 24°C for 2 hours, brush with egg wash and scatter black sesame seeds, then bake at 190°C (fan) for 18–20 minutes. Cool completely. Make the black sesame praline cream by combining a standard pastry cream base with sesame and praline pastes, then folding in whipped cream once cold. Apply charcoal glaze at 35°C. Split rings, pipe cream generously, replace tops, and finish with silver dust.


The Laminated Luxury Series

No. 3 — Saffron & Honey Kouign-Amann  |  You are reading No. 4 — Black Sesame Paris-Brest
Next: No. 5 — Rose & Lychee Croissant Tart →


🖤 Want All 8 Recipes in One Place?

The complete Laminated Luxury Series — all 8 Michelin-level croissant recipes, technique notes, plating guides, and photography direction — is available as a premium recipe collection in our shop.

Browse the Shop →

Posted on 1 Comment

Île Flottante Recipe — Poached Meringue with Praline & Crème Anglaise

★ Michelin Star Series ★

Île Flottante with Praline & Crème Anglaise

Spun Caramel  ·  Toasted Almond Praline  ·  Silky Vanilla Crème Anglaise

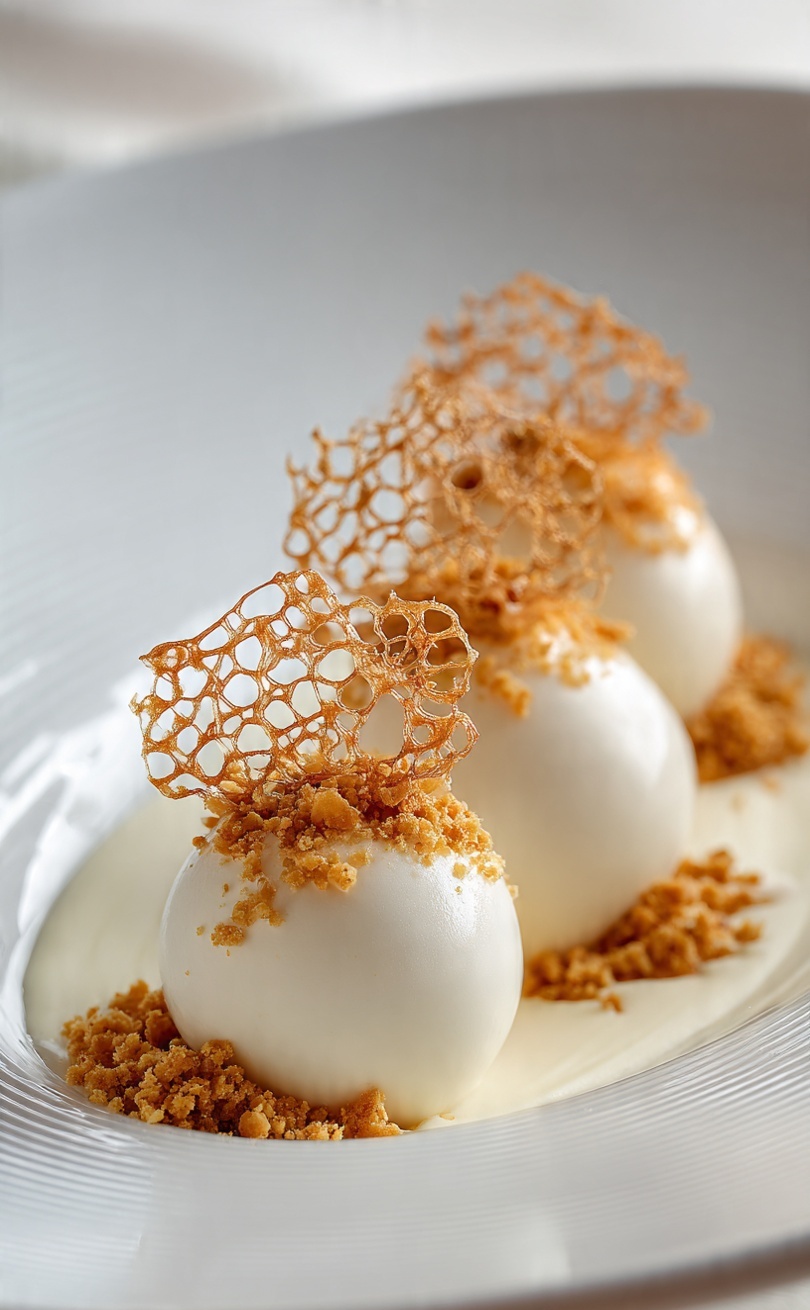
Billowing poached meringue islands floating on a sea of silky vanilla crème anglaise — one of the most elegant and technically demanding desserts in the French classical repertoire.

⏱ Prep: 45 mins  ·  ⏲ Chill: 1 hour  ·  ☁️ Serves: 6  ·  ⭐ Difficulty: Advanced

Ile Flottante with Praline and Creme Anglaise
Île Flottante — billowing meringue islands, silky crème anglaise, spun caramel and toasted almond praline.

The Most Elegant Dessert in French Cuisine

Île flottante — floating island — is one of the crown jewels of French patisserie. Gossamer-light meringue, poached to cloud-like perfection, set adrift on a pool of the most silky vanilla crème anglaise imaginable. Finished with shards of spun caramel and a scattering of toasted almond praline, this is a dessert of theatrical elegance and extraordinary lightness.

You will find this on the menus of the finest brasseries in Paris and on the tasting menus of Michelin-starred kitchens. The technique is precise but learnable — and the result is unlike anything else in the dessert repertoire.

This is the full professional recipe — the kind served in starred kitchens — complete with exact timings, temperatures, and the plating technique used by trained pastry chefs.

What You Will Learn

✔️ How to make the perfect Italian meringue base
✔️ The exact poaching technique for cloud-like meringue islands
✔️ How to make a silky crème anglaise without scrambling the eggs
✔️ Toasted almond praline from scratch
✔️ The art of spun caramel (cage & threads)
✔️ Michelin-standard plating technique
✔️ Chef’s secrets for achieving the perfect wobble

Ingredients

The Meringue

4 large egg whites
150g caster sugar
1 tsp white wine vinegar
Pinch of fine salt

Crème Anglaise

600ml whole milk
6 large egg yolks
120g caster sugar
1 vanilla pod

Almond Praline

100g blanched almonds
150g caster sugar
50ml water
Pinch of sea salt

Spun Caramel

200g caster sugar
100ml water

Method

01 — Almond Praline

Toast the almonds in a dry pan over medium heat until golden and fragrant. In a separate saucepan, dissolve the sugar in the water and cook without stirring to a deep amber caramel (175°C). Remove from the heat, add the almonds and a pinch of sea salt, and stir to coat. Pour immediately onto a sheet of lightly oiled parchment. Leave to cool completely, then crush with a rolling pin to a coarse, irregular rubble.

02 — Crème Anglaise

Split the vanilla pod and scrape the seeds into the milk. Heat the milk over medium heat until it just reaches a simmer. Whisk the egg yolks with the caster sugar until pale and slightly thickened. Pour the hot milk onto the yolk mixture in a slow, steady stream, whisking constantly. Return to the pan over medium-low heat. Stir continuously with a wooden spoon, reaching into the corners of the pan, until the sauce thickens and coats the back of the spoon (82°C). Do not allow it to boil. Strain immediately into a cold bowl. Chill until needed.

03 — Poached Meringue Islands

Bring a wide, deep pan of water to a gentle, barely-there simmer. Whisk the egg whites with a pinch of salt to soft peaks. Add the caster sugar in a slow, steady stream, whisking continuously to a stiff, glossy meringue. Add the white wine vinegar and whisk for a further 10 seconds. Using two large spoons, shape oval quenelles of meringue and lower gently onto the simmering water. Poach for 2–3 minutes on each side. Remove carefully with a slotted spoon onto a clean kitchen towel to drain. Refrigerate until plating.

04 — Spun Caramel

Dissolve the sugar in the water in a clean, dry saucepan. Cook without stirring to a pale amber caramel (165°C). Remove from the heat and allow to cool for 1–2 minutes until it thickens slightly and begins to thread when lifted with a fork. Working quickly over two lightly oiled rolling pins (or the back of an oiled bowl), dip a fork into the caramel and wave it rapidly back and forth to create long golden threads. Gather into a nest and use immediately.

05 — Plating

Chill your serving bowls for at least 10 minutes. Pour a generous pool of cold crème anglaise into each bowl. Float a poached meringue island in the centre. Scatter almond praline around the base of the meringue and directly onto the anglaise. Crown the meringue with a small nest of spun caramel threads. Serve immediately — the caramel will soften within minutes.

Chef’s Note — The Anglaise Temperature

82°C is the sweet spot. Below it the sauce is too thin; above it the yolks begin to scramble. Use a digital thermometer and pull the pan from the heat a degree or two before it arrives — residual heat does the rest.

Chef’s Note — Meringue Water Temperature

The water must never actually boil. A rolling boil will batter the meringue and cause it to break apart. Keep it at the gentlest simmer — a few lazy bubbles rising to the surface is exactly right.

Chef’s Note — Caramel Timing

Spin the caramel at the very last moment, directly before service. Even a few minutes at room temperature will cause the threads to absorb moisture from the air and collapse. Practice the spinning motion before the caramel is ready.

⭐ Michelin Star Series

Also in the Series

Valrhona Chocolate Délice · Liquorice & Carrot Composed Plate · More coming soon

All Recipes →

Disclosure: This post may contain affiliate links. All Cookings earns a small commission at no extra cost to you.

FREE GUIDE ✦ INSTANT DOWNLOAD

Want to plate like a Michelin-star chef?

Get the free PDF guide — 5 plating secrets from a professional pastry kitchen, sent directly to your inbox.

Posted on

Charlotte Royale Recipe — Raspberry & Rose Dome Dessert

★ 5-Star Dessert Series ★

Rose & Raspberry Charlotte Royale

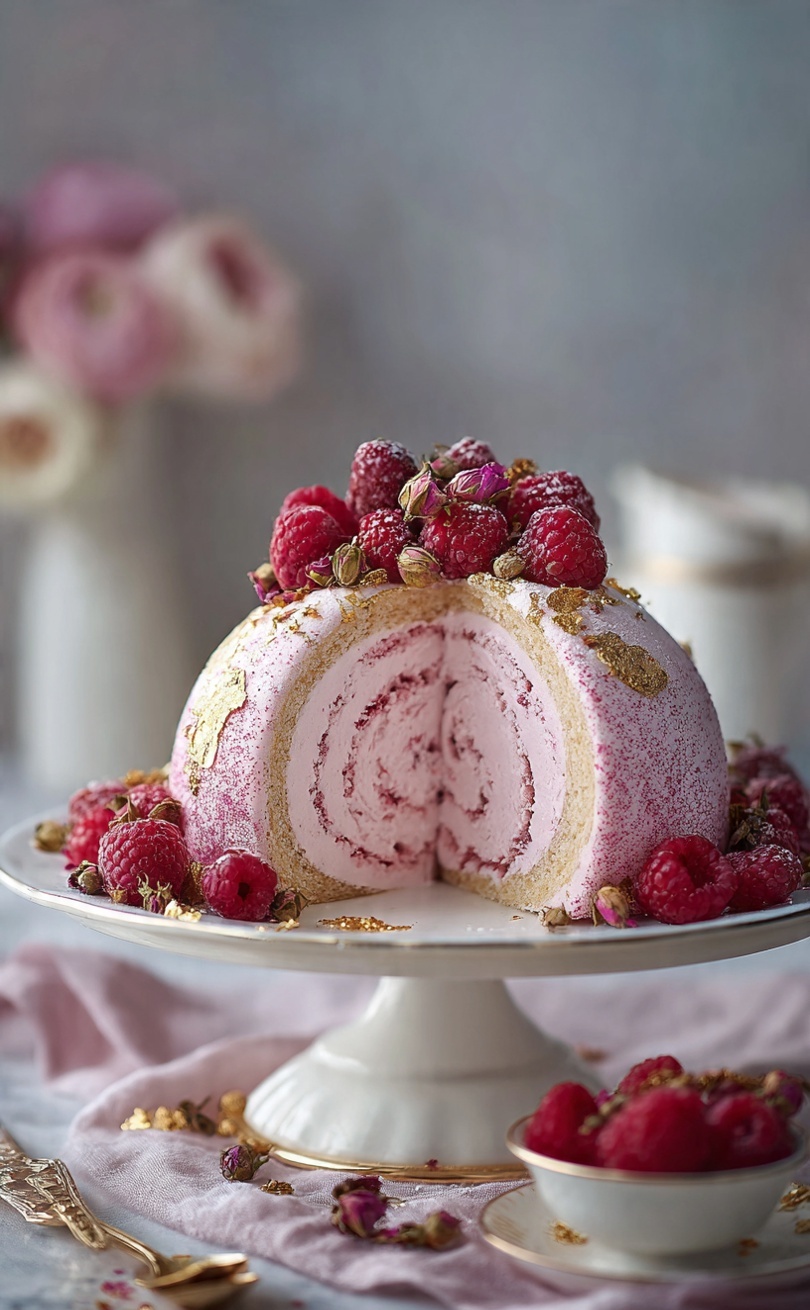
A breathtaking swirled dome of Swiss roll and raspberry mousse — the most showstopping dessert you will ever unmould.

⏱ Prep: 2 hours  ·  ⏲ Set: Overnight  ·  🌹 Serves: 10  ·  ⭐ Difficulty: Advanced

The Most Showstopping Dessert You Will Ever Make

When you unmould a Charlotte Royale at the table, conversations stop. The moment the bowl is lifted and that swirling dome of pink and cream is revealed — perfectly geometric, impossibly beautiful — is one of the most dramatic in all of patisserie. This is a dessert that looks like it came from a three-Michelin-star kitchen. With care and patience, you can make it at home.

The technique: a tightly lined dome of raspberry Swiss roll slices encases a cloud-light rose and raspberry mousse. Chilled overnight, unmoulded and garnished, it is simply magnificent.


Ingredients

Swiss Roll

4 large eggs
120g caster sugar
120g plain flour, sifted
1 tsp vanilla extract
200g raspberry jam, warmed
Pink food colouring (optional)

Rose & Raspberry Mousse

400g fresh raspberries
100g caster sugar
2 tbsp rosewater
6 gelatine leaves
500ml double cream
3 egg whites
50g icing sugar

To Garnish

Fresh raspberries
Dried rose petals
Edible gold leaf
Icing sugar for dusting
Micro herbs

The Method

Step 1 — The Swiss Roll. Whisk eggs and sugar until tripled in volume and ribbon-stage — about 8 minutes. Fold in sifted flour with a metal spoon. Spread onto a lined 30x40cm baking tray. Bake at 200°C for 8–10 minutes until just set.

Step 2. Turn out onto a sugar-dusted sheet of baking paper while hot. Spread with warm raspberry jam. Roll tightly. Wrap in cling film and refrigerate 30 minutes until firm.

Step 3. Slice roll into 1cm rounds. Line a 1.5-litre pudding bowl with cling film. Arrange slices tightly, spiral-side facing the bowl, to completely line the interior with no gaps.

Step 4 — The Mousse. Blitz raspberries with sugar. Pass through a fine sieve. Soak gelatine in cold water for 5 minutes, squeeze out, dissolve in 3 tbsp warm raspberry purée. Stir into remaining purée with rosewater. Cool until just beginning to set.

Step 5. Whip cream to soft peaks. Whisk egg whites with icing sugar to stiff peaks. Fold cream into raspberry mixture, then fold in egg whites in two additions.

Step 6. Pour mousse into lined bowl. Cover with remaining Swiss roll slices. Press gently. Cover with cling film and refrigerate overnight.

Step 7 — The Unmould. Place a flat serving plate on top of the bowl. Invert confidently. Lift the bowl. Peel away cling film to reveal the stunning spiral dome. Garnish with fresh raspberries, dried rose petals, gold leaf and a dusting of icing sugar.

Chef’s Secrets

01 — The Lining

The Swiss roll lining is everything. No gaps, no cracks. Work methodically from the base upwards, pressing each slice firmly against the bowl. The pattern will be revealed on unmoulding.

02 — The Gelatine

Do not add gelatine to the mousse too early or too late. It must be just beginning to set — at this stage it will hold the mousse without creating lumps.

03 — The Unmould

Confidence is everything. Place the plate, invert swiftly and lift in one clean motion. Do not hesitate. The cling film means it will always release cleanly.

Disclosure: This post may contain affiliate links. All Cookings earns a small commission at no extra cost to you.

Posted on 1 Comment

Lemon Tart Recipe with Italian Meringue — French Patisserie at Home

★ 5-Star Dessert Series ★

Lemon Tart with Italian Meringue

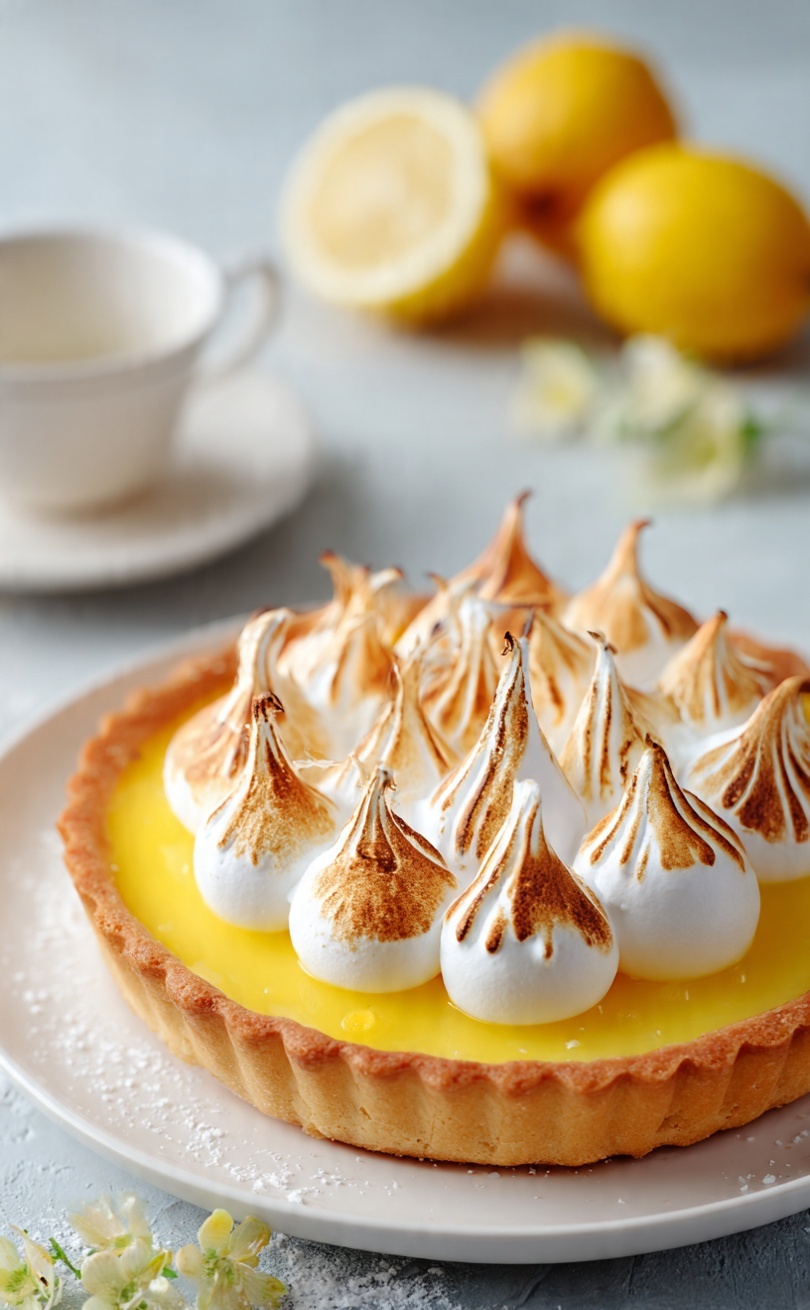
Intensely sharp lemon curd in a buttery pastry shell, crowned with billowing torched Italian meringue.

⏱ Prep: 1 hour  ·  ⏲ Chill: 3 hours  ·  🍋 Serves: 8  ·  ⭐ Difficulty: Advanced

The Perfect Balance of Sharp and Sweet

The great lemon tart is a study in contrasts. The filling must be bracingly sharp — not timid, not sweet, but properly mouth-puckering with the brightness of fresh lemons. The pastry must be impossibly buttery and short. And the Italian meringue, piped in dramatic peaks and kissed with a blowtorch, must be silky, glossy and sweet enough to balance the acidity below.

This is the version that wins awards. Sharp, beautiful and technically impeccable.


Ingredients

Pâte Sucrée

200g plain flour
100g unsalted butter, cold
80g icing sugar
2 egg yolks
1 tsp vanilla extract
Pinch of sea salt

Lemon Curd Filling

Zest of 4 unwaxed lemons
250ml fresh lemon juice
200g caster sugar
4 large eggs + 2 yolks
150g unsalted butter, cubed
1 tbsp cornflour

Italian Meringue

4 egg whites
240g caster sugar
80ml water
Pinch of cream of tartar

The Method

Step 1. Make pâte sucrée: pulse flour, sugar and salt. Add cold butter, pulse to breadcrumbs. Add yolks and vanilla, pulse until dough just comes together. Wrap and refrigerate 1 hour.

Step 2. Roll to 3mm. Line a 23cm tart tin. Blind bake at 180°C for 15 minutes with baking beans. Remove beans, egg wash, bake 8 more minutes until golden. Cool.

Step 3. For the filling: whisk lemon juice, zest, sugar, eggs, yolks and cornflour in a heavy pan. Cook over medium heat, stirring constantly, until thick and bubbling — about 8 minutes.

Step 4. Remove from heat. Whisk in cold butter cubes one at a time until glossy. Pass through a fine sieve. Pour into tart shell. Refrigerate minimum 3 hours until perfectly set.

Step 5 — Italian Meringue. Heat sugar and water to exactly 121°C (soft ball stage). Meanwhile, whisk egg whites with cream of tartar to soft peaks. With mixer running, pour hot syrup down the side of the bowl in a thin stream. Whisk on high until thick, glossy and completely cool — about 8 minutes.

Step 6. Transfer meringue to a piping bag fitted with a Saint-Honoré or large star nozzle. Pipe in dramatic peaks across the tart surface.

Step 7 — The Torch. Using a kitchen blowtorch, toast the meringue peaks to deep golden brown. Work quickly in sweeping motions. Garnish with lemon zest curls and micro herbs. Serve immediately.

Chef’s Secrets

01 — The Acidity

Do not be afraid of sharpness. The lemon curd should make you wince slightly. The Italian meringue provides the sweetness that makes the contrast sing.

02 — The Syrup Temperature

Italian meringue must reach exactly 121°C. This pasteurises the egg whites and creates a stable meringue that holds perfectly for hours.

03 — The Sieve

Always pass the lemon curd through a fine sieve. This removes any cooked egg and creates that impossibly smooth, glossy surface that defines a great tart.

Disclosure: This post may contain affiliate links. All Cookings earns a small commission at no extra cost to you.

Posted on

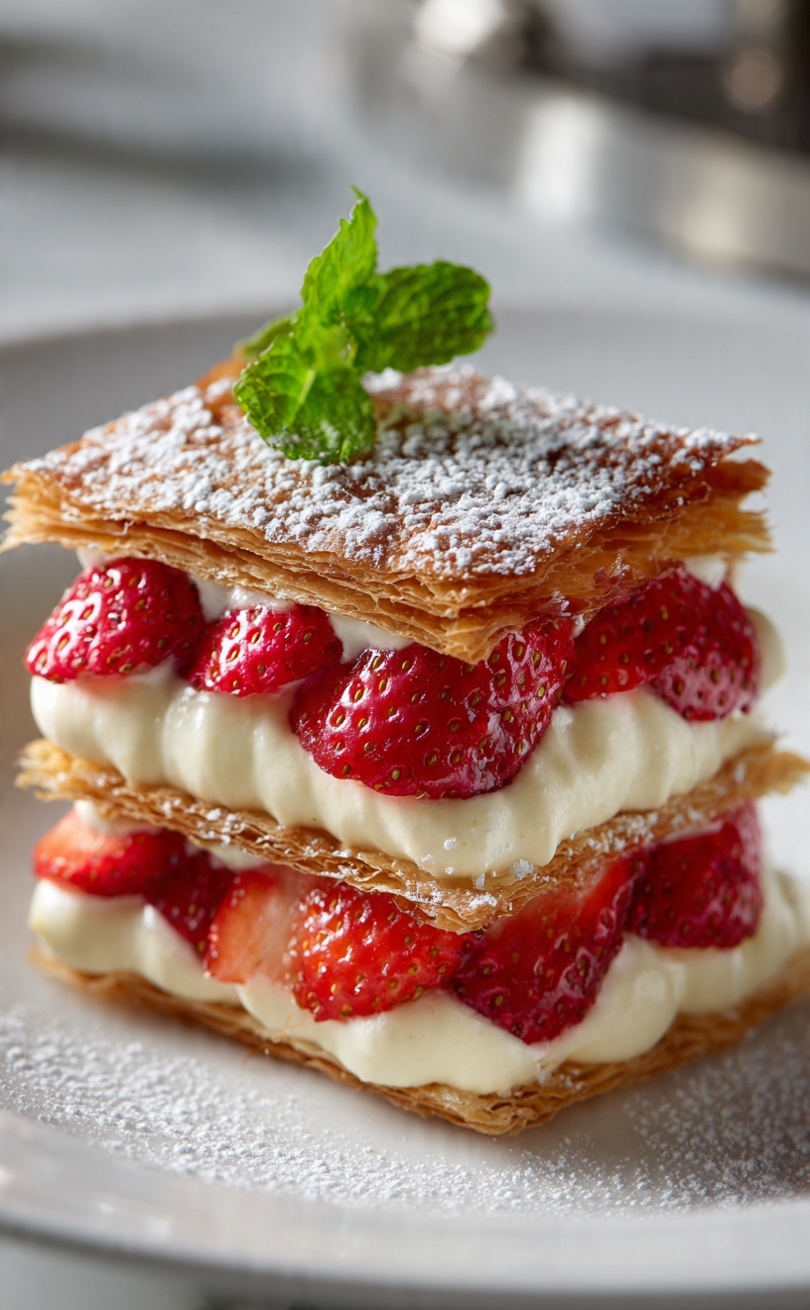
Strawberry Millefeuille Recipe with Vanilla Crème Pâtissière

★ 5-Star Dessert Series ★

Strawberry Millefeuille with Vanilla Crème Pâtissière

Shattering layers of caramelised puff pastry, cloud-soft vanilla cream and the finest summer strawberries.

⏱ Prep: 1 hour  ·  ⏲ Chill: 2 hours  ·  🍓 Serves: 6  ·  ⭐ Difficulty: Advanced

The Art of the Millefeuille

The millefeuille — meaning a thousand leaves — is one of the most celebrated desserts in French patisserie. Three precise layers of caramelised, shatteringly crisp puff pastry are sandwiched with silky vanilla crème pâtissière and crowned with perfectly ripe strawberries. Every element must be made with care. Every layer must be even. The result is nothing short of extraordinary.

This recipe is the version served in the great Parisian patisseries — precise, elegant, and utterly unforgettable.


Ingredients

Puff Pastry

500g all-butter puff pastry
80g icing sugar
Pinch of fine sea salt

Crème Pâtissière

500ml whole milk
1 vanilla pod, split
6 egg yolks
120g caster sugar
40g cornflour
50g unsalted butter
200ml double cream, whipped

Strawberries & Finish

500g fresh strawberries
2 tbsp strawberry jam, warmed
Icing sugar for dusting
Fresh mint leaves
Edible gold leaf (optional)

The Method

Step 1. Preheat oven to 200°C. Roll puff pastry to 3mm thickness. Cut into three equal rectangles approximately 10x30cm. Place on lined baking trays, prick all over with a fork and refrigerate 30 minutes.

Step 2. Dust pastry generously with icing sugar. Bake 18–22 minutes until deeply golden and caramelised. The sugar will form a glass-like crust. Cool completely on a wire rack.

Step 3. For the crème pâtissière: heat milk with vanilla pod and seeds to just below a simmer. Whisk egg yolks, sugar and cornflour together until pale. Pour hot milk over egg mixture in a slow stream, whisking constantly.

Step 4. Return to pan. Cook over medium heat, stirring constantly, until thick and bubbling — about 3 minutes. Remove from heat, beat in cold butter. Press cling film directly onto surface. Chill completely.

Step 5. Whip double cream to soft peaks. Fold gently into chilled crème pâtissière to create a light, airy diplomat cream. Transfer to a piping bag fitted with a large round nozzle.

Step 6. Hull and halve strawberries. Brush with warm jam to glaze.

Step 7. Place first pastry layer on serving board. Pipe diplomat cream in neat rows. Arrange strawberries. Repeat with second layer.

Step 8 — The Finish. Place final pastry layer on top. Dust with icing sugar. Garnish with whole strawberries, mint and gold leaf. Slice immediately with a hot serrated knife for clean cuts.

Chef’s Secrets

01 — The Caramel Crust

Dust pastry with icing sugar twice during baking for maximum caramelisation. The result is a glass-like crust that shatters beautifully on the fork.

02 — The Cream

The crème pâtissière must be completely cold before folding in the whipped cream. Warm custard will deflate the cream and ruin the texture.

03 — Assembly Timing

Assemble no more than 2 hours before serving. The pastry will soften if left too long — you want that shatter when you cut through.

Disclosure: This post may contain affiliate links. All Cookings earns a small commission at no extra cost to you.

Posted on

How to Make Croissants from Scratch — Complete Step-by-Step Guide

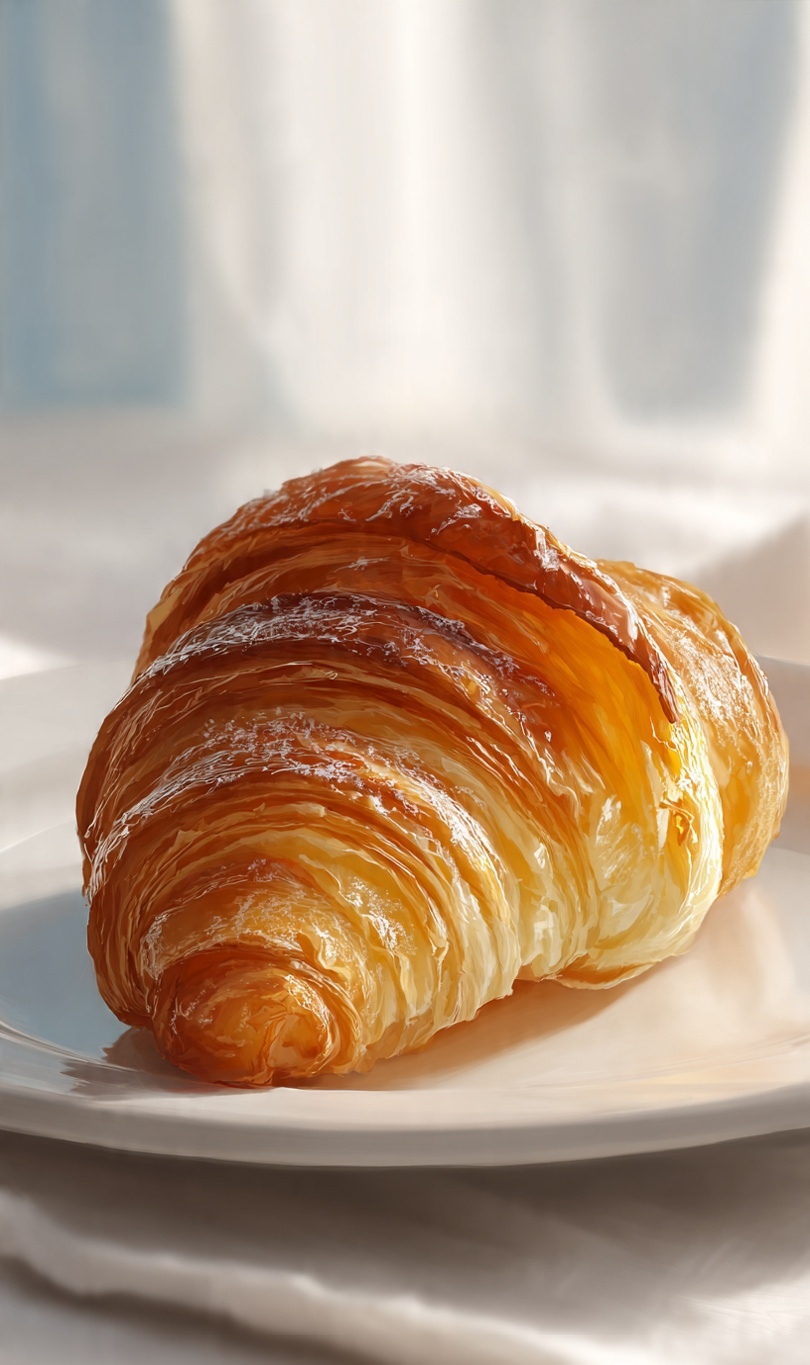
Golden flaky homemade croissant showing buttery laminated layers
Homemade croissants — hundreds of buttery layers, two days beautifully spent.

Homemade croissants are one of the most rewarding things you can bake. Flaky, buttery, layered with hundreds of gossamer-thin sheets of dough — they take time and patience, but the process is far more achievable than most people believe. This guide breaks it down into clear stages spread over two days.

Why Make Croissants at Home?

A croissant bought from a supermarket and a croissant made with proper laminated dough are entirely different foods. When you make them yourself, you control the butter quality, the proof, and the bake — and the result is an extraordinarily crisp, amber shell giving way to a soft, airy, buttery interior that simply cannot be replicated any other way.

Ingredients

For the Détrempe (Dough)

  • 500g (4 cups) strong white bread flour
  • 10g (2 tsp) fine salt
  • 80g (6 tbsp) caster sugar
  • 10g (3¼ tsp) instant yeast
  • 300ml (1¼ cups) whole milk, cold
  • 40g (3 tbsp) unsalted butter, softened

For the Beurrage (Butter Block)

  • 280g (2½ sticks) high-quality European-style unsalted butter, cold

For the Egg Wash

  • 1 whole egg + 1 egg yolk, beaten with a pinch of salt

Day One: The Dough and Butter Block

Step 1: Make the Détrempe

Combine the flour, salt, and sugar in a stand mixer bowl. Add the yeast on the opposite side from the salt. Pour in the cold milk and mix on low for 2 minutes, then add the softened butter and mix for another 5 minutes until smooth. Shape into a rectangle, wrap in cling film, and refrigerate overnight.

Step 2: Make the Butter Block

Beat the cold butter flat between two sheets of baking parchment into a neat 20x20cm square. It should bend without cracking. Refrigerate alongside the dough overnight.

Day Two: Lamination, Shaping, and Baking

Perfectly baked croissant showing flaky golden layers
The finished croissant — deep amber, shattering crust, and a honeycomb interior.

Step 3: Laminate (3 × Letter Folds)

Enclose the butter block in the dough and roll out to 60x20cm. Perform a letter fold, wrap and rest in the fridge for 30 minutes. Repeat twice more. You are building 27 butter layers — the source of all the flakiness.

Step 4: Shape, Proof, and Bake

Roll to 4mm, cut triangles, roll from base to tip. Proof at 24°C for 2–3 hours until visibly puffed and wobbling. Brush with egg wash and bake at 190°C (375°F) for 16–18 minutes until deep amber all over.

Essential Equipment

The Most Common Croissant Mistakes

  • Butter too cold: It shatters instead of laminating. Bring to modelling clay texture.
  • Butter too warm: It merges into the dough. Work quickly.
  • Under-proofed: Always wait for the wobble.
  • Pale bake: Push to deep amber, not just golden.

Follow us on Instagram and Threads for step-by-step technique videos.

Disclosure: This post contains affiliate links. If you purchase through these links, All Cookings earns a small commission at no extra cost to you. We only recommend products we genuinely use and love.

Posted on

5 Classic French Desserts Every Home Cook Should Master

Classic French patisserie desserts
The art of French patisserie — timeless, elegant, and entirely achievable at home.

French patisserie has intimidated home cooks for decades — but the truth is, mastering a handful of classics will transform your kitchen confidence forever. These five desserts are the foundation of French baking, and once you have them down, everything else becomes possible.

1. Crème Brûlée — The Art of the Perfect Crack

Crème brûlée with caramelised sugar crust, blueberries and raspberry
Crème brûlée — caramelised sugar crust, vanilla custard, and fresh berries.

There is nothing more satisfying than tapping through a perfectly caramelised sugar crust to reach the silky vanilla custard beneath. The secret is a low, slow bake in a water bath and using real vanilla beans — never extract. Once you master the ratio of egg yolks to cream, you can flavour it with lavender, cardamom, or citrus zest for elegant variations.

Key equipment: A kitchen torch makes all the difference. This professional culinary torch (Amazon) gives you the even caramelisation you see in top restaurants.

2. Tarte Tatin — Caramelised Perfection Upside Down

French tarte tatin with glistening caramelised apples
Tarte Tatin — caramelised apples, buttery pastry, and the drama of the flip.

Born from a happy accident in the Tatin sisters’ hotel kitchen in the Loire Valley, this upside-down apple tart is one of France’s most beloved desserts. The apples are caramelised directly in butter and sugar in an oven-safe pan before being topped with buttery shortcrust pastry and baked. The dramatic flip at the end is both the risk and the reward.

Pro tip: Use a cast iron skillet (Amazon) for even heat distribution and a rich, deep caramel. Golden Delicious or Braeburn apples hold their shape and sweetness beautifully through the long cook.

3. Chocolate Mousse — Three Ingredients, Pure Luxury

Dark chocolate mousse in elegant coupe glass with chocolate shavings
Chocolate mousse — airy, intensely dark, topped with chocolate curls.

A true French chocolate mousse uses just dark chocolate, eggs, and a pinch of salt — no cream, no gelatine. The technique of folding whipped egg whites into melted chocolate creates an airy, intensely chocolatey result that feels simultaneously light and indulgent. Use the best chocolate you can afford — at least 70% cacao for depth of flavour.

Recommended: Valrhona 70% dark chocolate (Amazon) is the professional pastry chef’s choice worldwide.

4. Madeleines — The Little Cake with a Big Secret

Golden French madeleines dusted with icing sugar on a silver plate
Madeleines — golden, shell-ridged, dusted with icing sugar and utterly irresistible.

Proust wrote an entire novel inspired by the memory triggered by biting into a madeleine. These small, shell-shaped sponge cakes are deceptively simple — browned butter, lemon zest, and a cold rest in the fridge before baking are the three secrets to getting that iconic hump and perfectly tender, golden crumb.

Essential tool: You need a proper non-stick madeleine pan (Amazon) to get those beautiful shell ridges. Butter and flour every mould generously before filling and do not skip the chilling step.

5. Paris-Brest — The Ultimate Showstopper

Paris-Brest choux pastry ring filled with cream and topped with flaked almonds
Paris-Brest — golden choux, hazelnut cream, toasted almonds, and pure elegance.

Created in 1910 to celebrate the Paris-Brest-Paris bicycle race, this choux pastry ring filled with hazelnut praline cream is the ultimate French dinner party centrepiece. It looks spectacular but breaks down into approachable components: choux pastry, pastry cream, and praline paste. Make each part a day ahead and assemble just before serving.

Toolkit: A piping bag set with large star nozzles (Amazon) is essential for piping the choux ring and filling it generously with praline mousseline cream.


📬 Get Weekly Recipes in Your Inbox

Each of these recipes will be featured in full detail right here on All Cookings. Follow us on Instagram, Threads, and Facebook so you never miss a new post — we publish new recipes every single day.

Disclosure: This post contains affiliate links. If you purchase through these links, All Cookings earns a small commission at no extra cost to you. We only recommend products we genuinely use and love.

Posted on

Saffron & Honey Kouign-Amann — The Laminated Luxury Series

The Laminated Luxury Series — No. 3 of 8

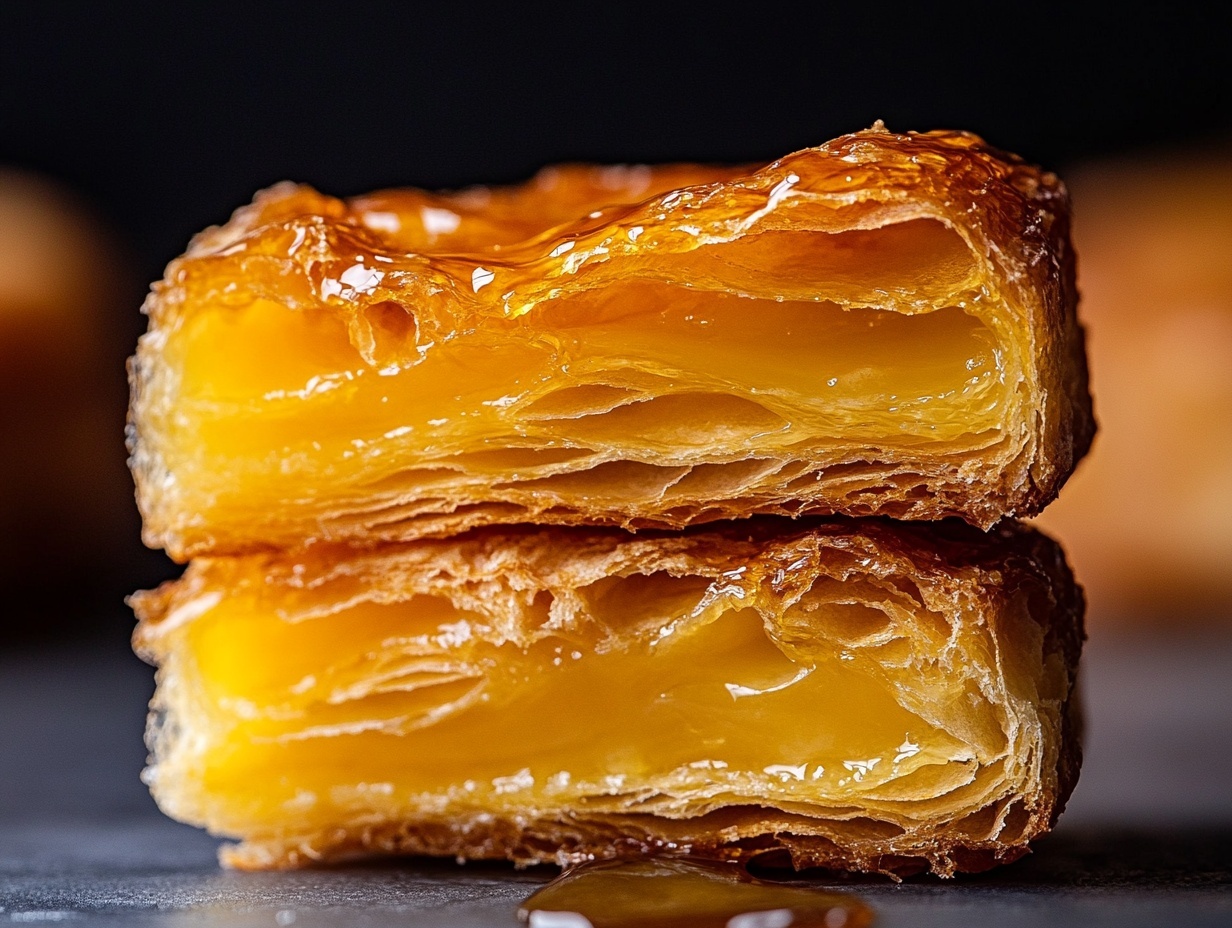
Kouign-amann — Breton for butter cake — is laminated dough folded with sugar and baked until the base caramelises into a lacquered, crackling shell. This version infuses the butter block with Persian saffron before lamination, perfuming every layer with the world’s most precious spice. Finished with raw honeycomb and edible gold, it is a pastry that exists somewhere between Brittany and the Gulf.

The saffron does not colour the dough dramatically — its role is aromatic. The honey does not simply sweeten — it deepens and perfumes. Together they create something that smells and tastes like nothing else in pastry.


Chef’s Note

Persian saffron is worth sourcing properly. The threads should be a deep crimson, not pale orange. Bloom them in 2 tablespoons of warm water for 20 minutes before use — this releases the colour and fragrance. Add the bloomed saffron directly to the softened butter and mix well before shaping the beurrage.

The caramelisation stage is the moment of greatest risk. The sugar can go from perfect amber to bitter in seconds. Watch closely and pull the tin from the oven at the first sign of deep mahogany at the edges.


Ingredients

The Dough

  • 500g strong bread flour
  • 10g fine sea salt
  • 60g caster sugar
  • 10g instant yeast
  • 300ml whole milk, cold
  • 30g unsalted butter, softened

The Saffron Butter Block (Beurrage)

  • 280g European-style unsalted butter (84% fat), cold
  • 1/4 tsp high-quality Persian saffron threads, bloomed in 2 tbsp warm water

The Sugar Layer

  • 150g caster sugar
  • 2 tbsp raw honey
  • Pinch of fleur de sel

To Finish

  • 1 egg yolk + 1 tbsp cream (egg wash)
  • Raw honeycomb, to serve
  • Edible gold leaf
  • Fleur de sel

Method

Day 1 — The Détrempe & Saffron Beurrage

Make the détrempe: combine flour, salt, and sugar. Dissolve yeast in cold milk, combine with dry ingredients, add butter, knead 8 minutes until smooth. Refrigerate overnight. Beat the softened butter with the bloomed saffron liquid until fully absorbed and evenly coloured. Shape into a 20cm square between parchment sheets. Refrigerate alongside the dough.

Day 2 — Lamination with Sugar

Perform two double folds (not three — kouign-amann needs fewer, more open layers). On the final roll, scatter the caster sugar evenly across the dough surface and fold it in. The sugar will become incorporated between the layers as you work. Rest 30 minutes.

Shaping & Proofing

Roll to a 24cm circle. Generously butter a 22cm cake tin, line the base with a circle of parchment. Drizzle the honey across the base and scatter with fleur de sel. Lay the dough circle on top, tucking the edges under slightly. Proof at 22°C for 1.5–2 hours — slightly cooler than usual to prevent the sugar from dissolving prematurely.

Baking

Preheat oven to 200°C. Brush with egg wash. Bake for 25–30 minutes until the top is deeply golden and the base is caramelised to dark amber when checked by lifting the edge with a palette knife. The sugar should be crackling and lacquered, not sticky. Remove from the oven, rest for exactly 5 minutes, then invert onto a rack immediately. Any longer and the caramel will set and the pastry will stick permanently.

Finishing

While still warm, place a shard of raw honeycomb on top. The heat will soften it slightly, causing the honey to weep onto the surface. Lay edible gold leaf across the honeycomb. Finish with a scatter of fleur de sel. Serve warm, within 30 minutes of baking — the caramel shell is at its finest while it still crackles.


The Laminated Luxury Series

No. 2 — Tahitian Vanilla Mille-Feuille  |  You are reading No. 3 — Saffron & Honey Kouign-Amann
Next: No. 4 — Black Sesame Paris-Brest →