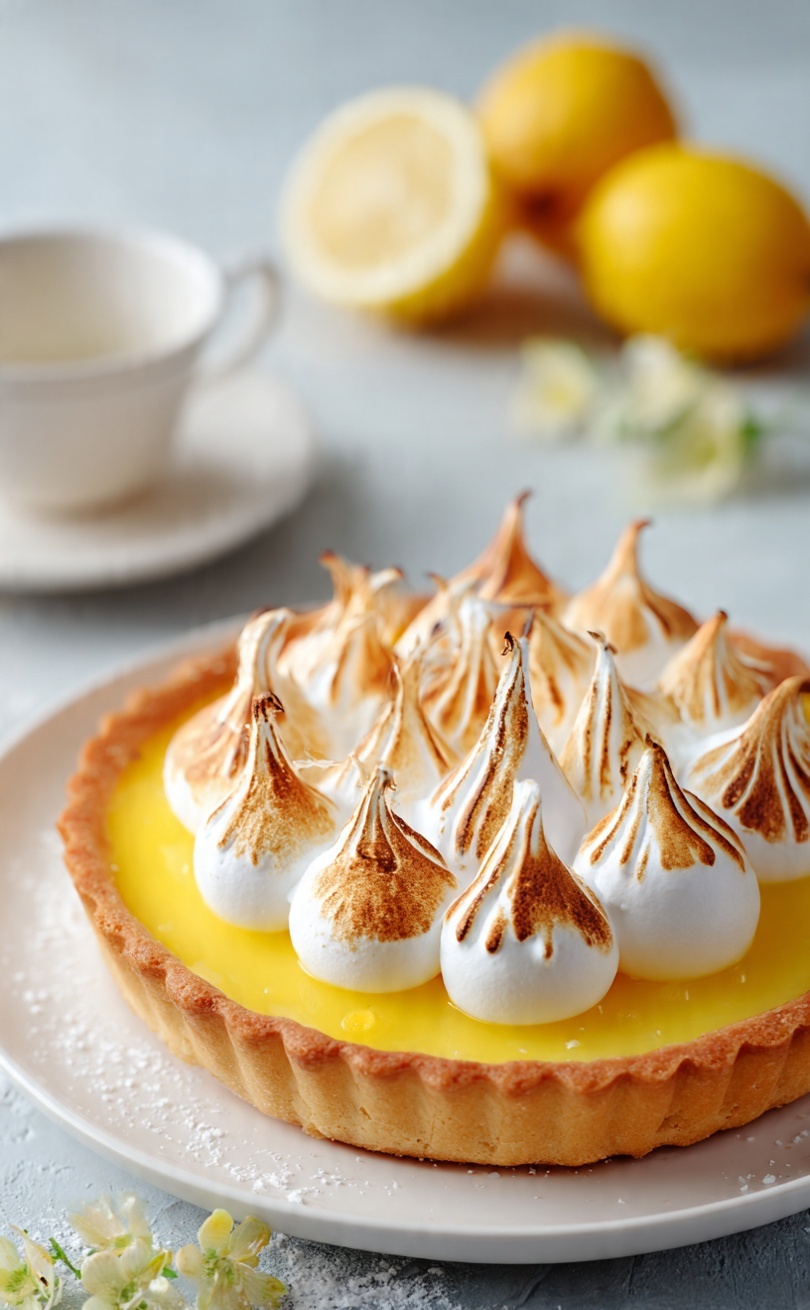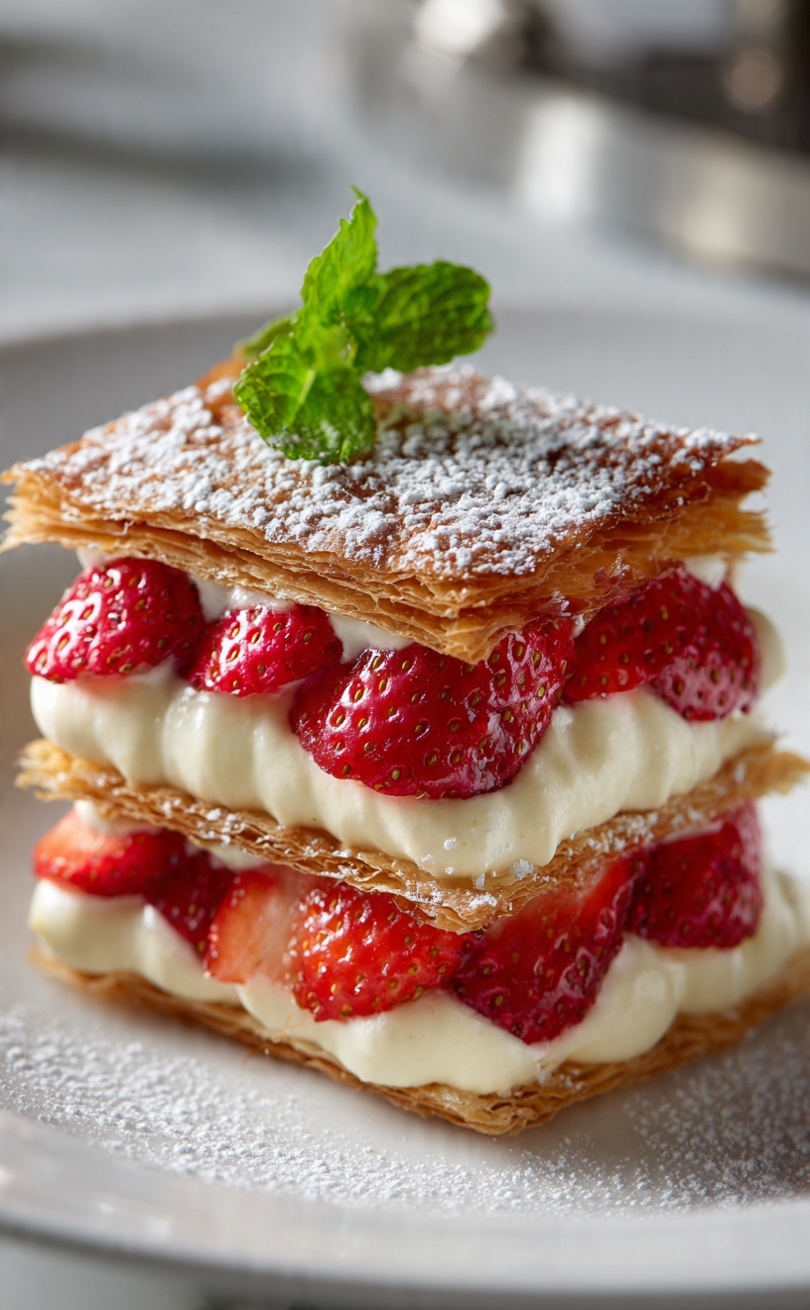
★ 5-Star Dessert Series ★
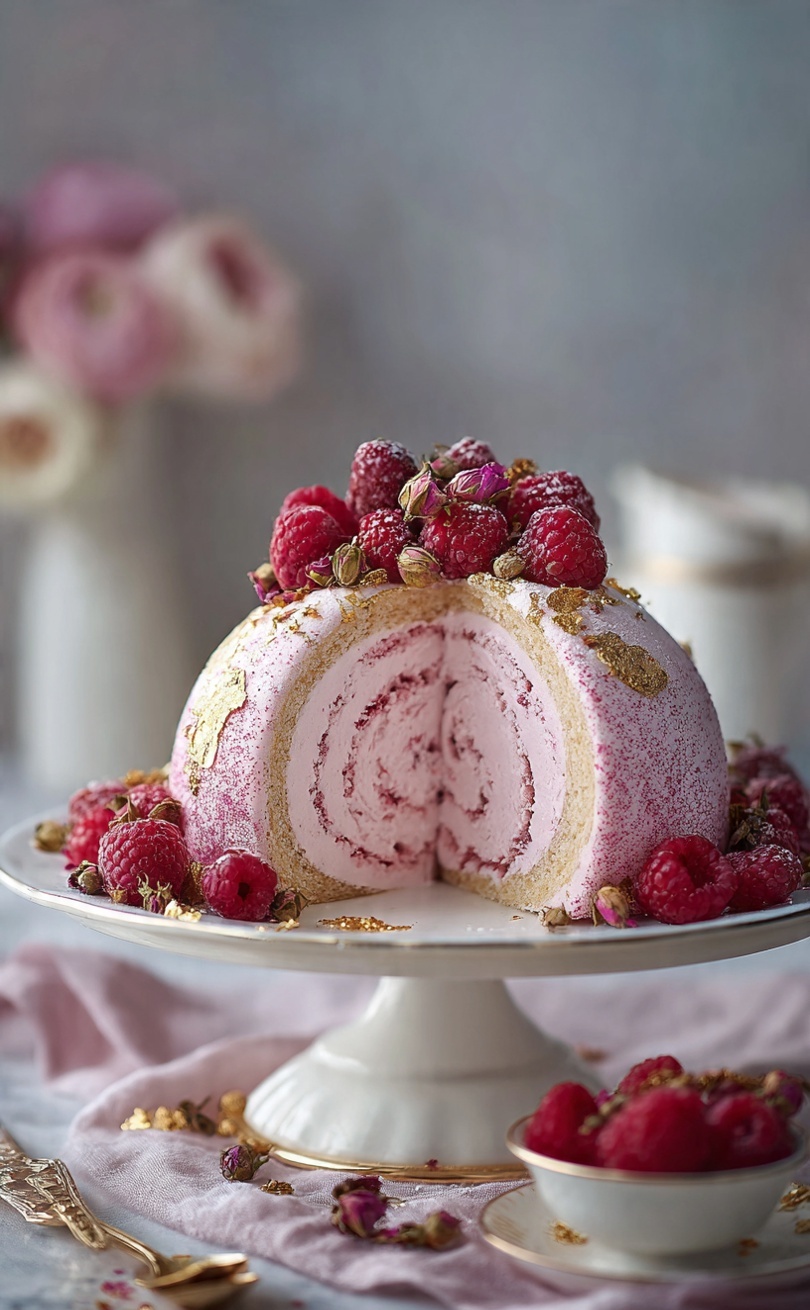
Rose & Raspberry Charlotte Royale
A breathtaking swirled dome of Swiss roll and raspberry mousse — the most showstopping dessert you will ever unmould.
⏱ Prep: 2 hours · ⏲ Set: Overnight · 🌹 Serves: 10 · ⭐ Difficulty: Advanced
The Most Showstopping Dessert You Will Ever Make
When you unmould a Charlotte Royale at the table, conversations stop. The moment the bowl is lifted and that swirling dome of pink and cream is revealed — perfectly geometric, impossibly beautiful — is one of the most dramatic in all of patisserie. This is a dessert that looks like it came from a three-Michelin-star kitchen. With care and patience, you can make it at home.
The technique: a tightly lined dome of raspberry Swiss roll slices encases a cloud-light rose and raspberry mousse. Chilled overnight, unmoulded and garnished, it is simply magnificent.
Ingredients
Swiss Roll
4 large eggs
120g caster sugar
120g plain flour, sifted
1 tsp vanilla extract
200g raspberry jam, warmed
Pink food colouring (optional)
Rose & Raspberry Mousse
400g fresh raspberries
100g caster sugar
2 tbsp rosewater
6 gelatine leaves
500ml double cream
3 egg whites
50g icing sugar
To Garnish
Fresh raspberries
Dried rose petals
Edible gold leaf
Icing sugar for dusting
Micro herbs
The Method
Step 1 — The Swiss Roll. Whisk eggs and sugar until tripled in volume and ribbon-stage — about 8 minutes. Fold in sifted flour with a metal spoon. Spread onto a lined 30x40cm baking tray. Bake at 200°C for 8–10 minutes until just set.
Step 2. Turn out onto a sugar-dusted sheet of baking paper while hot. Spread with warm raspberry jam. Roll tightly. Wrap in cling film and refrigerate 30 minutes until firm.
Step 3. Slice roll into 1cm rounds. Line a 1.5-litre pudding bowl with cling film. Arrange slices tightly, spiral-side facing the bowl, to completely line the interior with no gaps.
Step 4 — The Mousse. Blitz raspberries with sugar. Pass through a fine sieve. Soak gelatine in cold water for 5 minutes, squeeze out, dissolve in 3 tbsp warm raspberry purée. Stir into remaining purée with rosewater. Cool until just beginning to set.
Step 5. Whip cream to soft peaks. Whisk egg whites with icing sugar to stiff peaks. Fold cream into raspberry mixture, then fold in egg whites in two additions.
Step 6. Pour mousse into lined bowl. Cover with remaining Swiss roll slices. Press gently. Cover with cling film and refrigerate overnight.
Step 7 — The Unmould. Place a flat serving plate on top of the bowl. Invert confidently. Lift the bowl. Peel away cling film to reveal the stunning spiral dome. Garnish with fresh raspberries, dried rose petals, gold leaf and a dusting of icing sugar.
Chef’s Secrets
01 — The Lining
The Swiss roll lining is everything. No gaps, no cracks. Work methodically from the base upwards, pressing each slice firmly against the bowl. The pattern will be revealed on unmoulding.
02 — The Gelatine
Do not add gelatine to the mousse too early or too late. It must be just beginning to set — at this stage it will hold the mousse without creating lumps.
03 — The Unmould
Confidence is everything. Place the plate, invert swiftly and lift in one clean motion. Do not hesitate. The cling film means it will always release cleanly.
Disclosure: This post may contain affiliate links. All Cookings earns a small commission at no extra cost to you.