The Laminated Luxury Series — No. 3 of 8
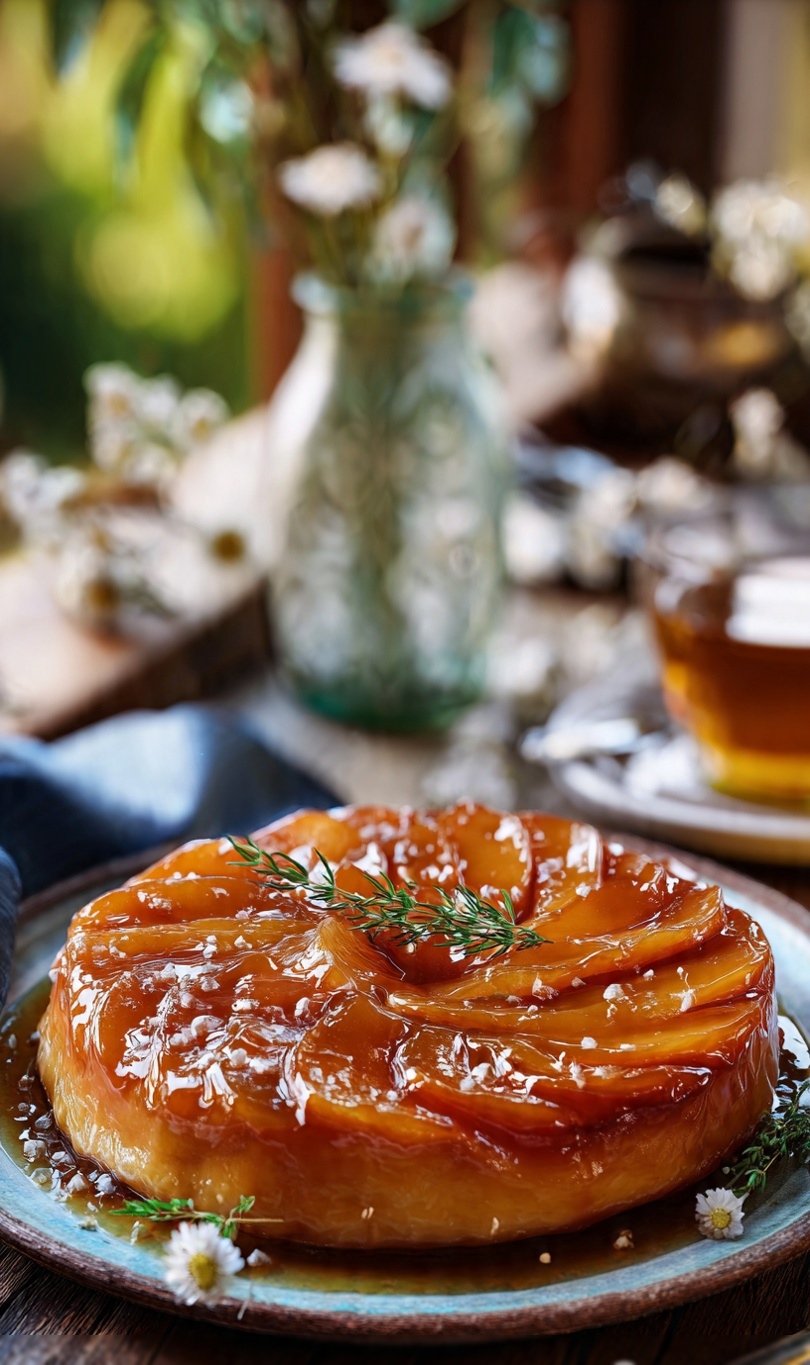
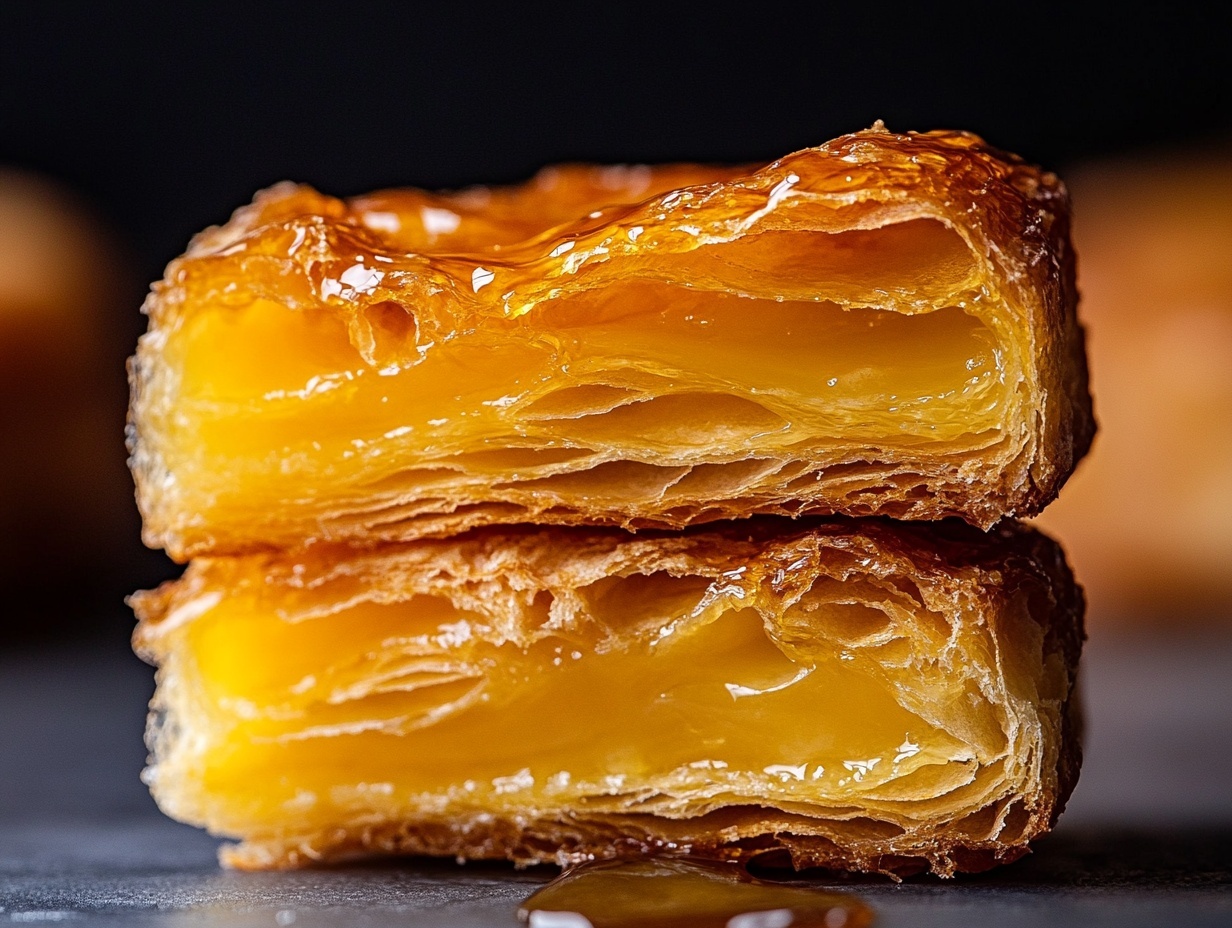
Kouign-amann — Breton for butter cake — is laminated dough folded with sugar and baked until the base caramelises into a lacquered, crackling shell. This version infuses the butter block with Persian saffron before lamination, perfuming every layer with the world’s most precious spice. Finished with raw honeycomb and edible gold, it is a pastry that exists somewhere between Brittany and the Gulf.
The saffron does not colour the dough dramatically — its role is aromatic. The honey does not simply sweeten — it deepens and perfumes. Together they create something that smells and tastes like nothing else in pastry.
Chef’s Note
Persian saffron is worth sourcing properly. The threads should be a deep crimson, not pale orange. Bloom them in 2 tablespoons of warm water for 20 minutes before use — this releases the colour and fragrance. Add the bloomed saffron directly to the softened butter and mix well before shaping the beurrage.
The caramelisation stage is the moment of greatest risk. The sugar can go from perfect amber to bitter in seconds. Watch closely and pull the tin from the oven at the first sign of deep mahogany at the edges.
Ingredients
The Dough
- 500g strong bread flour
- 10g fine sea salt
- 60g caster sugar
- 10g instant yeast
- 300ml whole milk, cold
- 30g unsalted butter, softened
The Saffron Butter Block (Beurrage)
- 280g European-style unsalted butter (84% fat), cold
- 1/4 tsp high-quality Persian saffron threads, bloomed in 2 tbsp warm water
The Sugar Layer
- 150g caster sugar
- 2 tbsp raw honey
- Pinch of fleur de sel
To Finish
- 1 egg yolk + 1 tbsp cream (egg wash)
- Raw honeycomb, to serve
- Edible gold leaf
- Fleur de sel
Method
Day 1 — The Détrempe & Saffron Beurrage
Make the détrempe: combine flour, salt, and sugar. Dissolve yeast in cold milk, combine with dry ingredients, add butter, knead 8 minutes until smooth. Refrigerate overnight. Beat the softened butter with the bloomed saffron liquid until fully absorbed and evenly coloured. Shape into a 20cm square between parchment sheets. Refrigerate alongside the dough.
Day 2 — Lamination with Sugar
Perform two double folds (not three — kouign-amann needs fewer, more open layers). On the final roll, scatter the caster sugar evenly across the dough surface and fold it in. The sugar will become incorporated between the layers as you work. Rest 30 minutes.
Shaping & Proofing
Roll to a 24cm circle. Generously butter a 22cm cake tin, line the base with a circle of parchment. Drizzle the honey across the base and scatter with fleur de sel. Lay the dough circle on top, tucking the edges under slightly. Proof at 22°C for 1.5–2 hours — slightly cooler than usual to prevent the sugar from dissolving prematurely.
Baking
Preheat oven to 200°C. Brush with egg wash. Bake for 25–30 minutes until the top is deeply golden and the base is caramelised to dark amber when checked by lifting the edge with a palette knife. The sugar should be crackling and lacquered, not sticky. Remove from the oven, rest for exactly 5 minutes, then invert onto a rack immediately. Any longer and the caramel will set and the pastry will stick permanently.
Finishing
While still warm, place a shard of raw honeycomb on top. The heat will soften it slightly, causing the honey to weep onto the surface. Lay edible gold leaf across the honeycomb. Finish with a scatter of fleur de sel. Serve warm, within 30 minutes of baking — the caramel shell is at its finest while it still crackles.
The Laminated Luxury Series
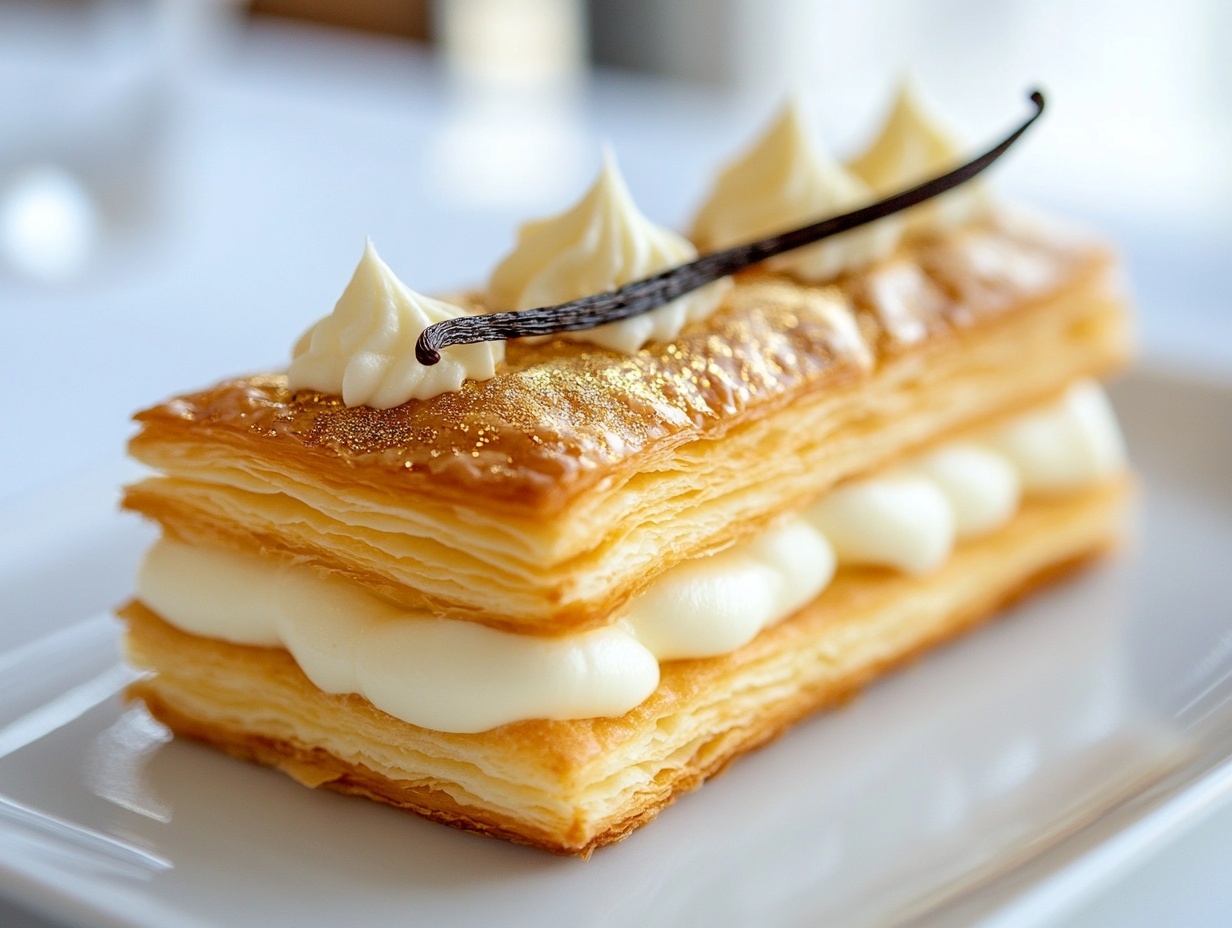
← No. 2 — Tahitian Vanilla Mille-Feuille | You are reading No. 3 — Saffron & Honey Kouign-Amann
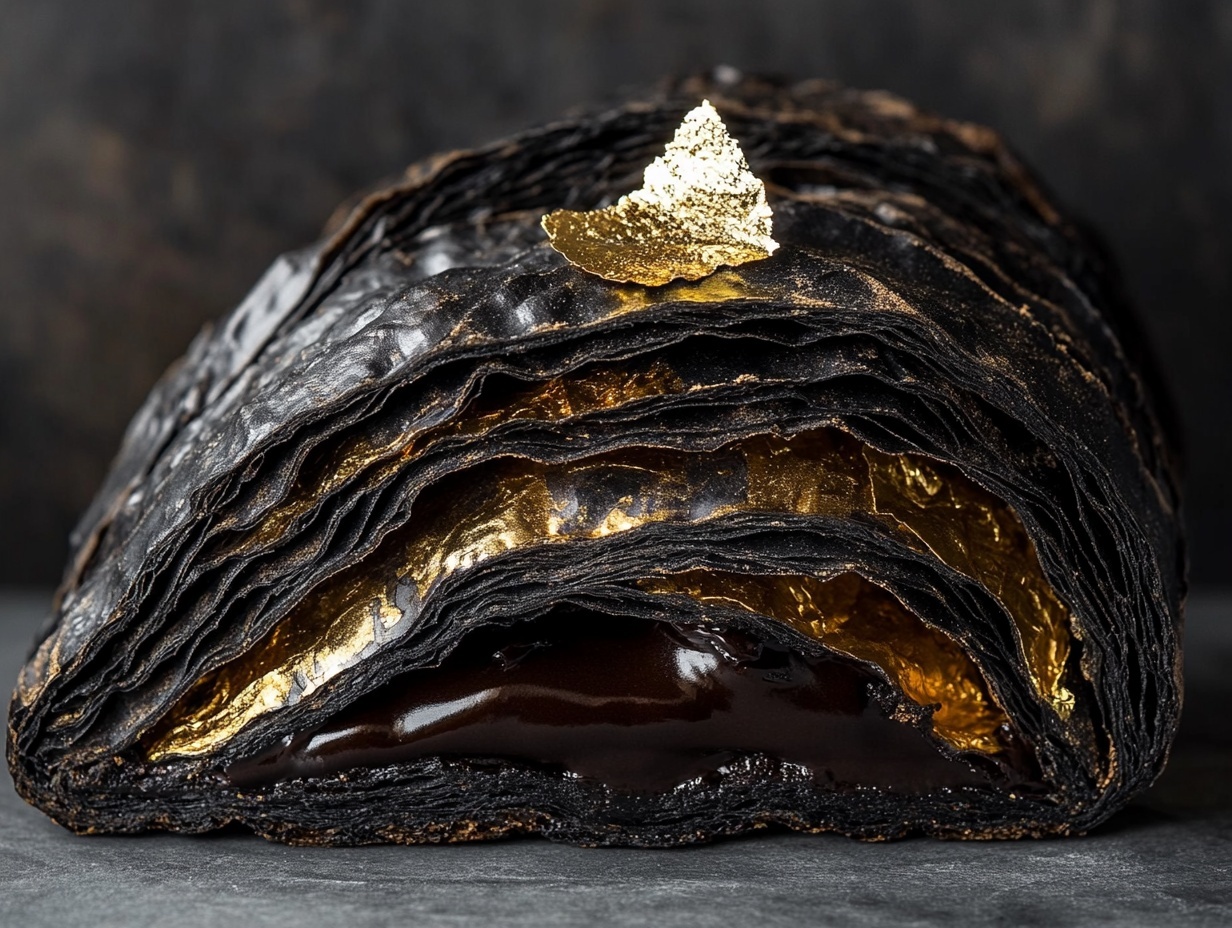
Next: No. 4 — Black Sesame Paris-Brest →