Posted on

Banana Chocolate Cake Recipe with Homemade Banana Ice Cream

Bananas and chocolate: A perfect Love story

Elegant Banana Chocolate Cake with Banana Ice Cream. This recipe recreates the beautiful dessert from the image: a rich, fudgy chocolate cake studded with caramelized banana slices, finished with glossy chocolate drizzle, and paired with a creamy scoop of homemade banana ice cream. It’s decadent yet surprisingly simple, perfect for an elegant dinner party. The cake has a dense, brownie-like texture with visible banana pieces inside, just like the photo.

Serves: 8–10
Prep time: 30 minutes
Bake/Chill time: 35 minutes (cake) + 4 hours (ice cream)Chocolate Banana

Cake Ingredients:

  • 200 g (7 oz) dark chocolate (70% cocoa), chopped
  • 180 g (¾ cup + 2 tbsp) unsalted butter, plus extra for greasing
  • 150 g (¾ cup) light brown sugar
  • 100 g (½ cup) granulated sugar
  • 3 large eggs, room temperature
  • 2 ripe bananas, mashed (about 200 g)
  • 120 g (1 cup) all-purpose flour
  • 40 g (⅓ cup) unsweetened cocoa powder
  • 1 tsp baking powder
  • ½ tsp salt
  • 2–3 firm ripe bananas, sliced into ½ cm (¼ inch) rounds (for embedding in the batter)
  • 100 g (3.5 oz) dark chocolate, melted (for the elegant drizzle)

Instructions:

  1. Preheat oven to 175°C (350°F). Grease and line a 20 cm (8 inch) round cake pan with parchment paper.
  2. Melt the chopped chocolate and butter together in a heatproof bowl over simmering water or in the microwave (30-second bursts). Stir until smooth. Let cool slightly.
  3. Whisk in both sugars, then add the eggs one at a time, mixing well after each. Stir in the mashed bananas.
  4. In a separate bowl, sift together flour, cocoa powder, baking powder, and salt. Gently fold the dry ingredients into the wet mixture until just combined (do not overmix — this keeps it fudgy).
  5. Pour half the batter into the prepared pan. Arrange the banana slices in a single layer over the batter (this creates the beautiful banana pieces you see when sliced). Pour the remaining batter on top and smooth the surface.
  6. Bake for 32–35 minutes. The center should still have a slight jiggle — it will set as it cools (the cake is meant to be dense and moist like the photo).
  7. Cool completely in the pan, then turn out onto a plate. Drizzle generously with the melted dark chocolate using a spoon or piping bag for those elegant chocolate rivulets.

No-Churn Banana Ice CreamIngredients:

  • 4 very ripe bananas, peeled and frozen overnight (in chunks)
  • 300 ml (1¼ cups) cold heavy cream
  • 80 g (⅓ cup) sweetened condensed milk
  • 1 tsp vanilla extract
  • Pinch of salt
  • 1 tbsp fresh lemon juice (to brighten the flavor)

Instructions:

  1. Place the frozen banana chunks, cream, condensed milk, vanilla, salt, and lemon juice in a food processor or high-speed blender.
  2. Blend until completely smooth and creamy (about 2–3 minutes). It will look exactly like soft-serve at this stage.
  3. Transfer to a loaf pan, cover with plastic wrap, and freeze for at least 4 hours (or overnight) until scoopable.

To Serve (Exactly Like the Image)

  • Place a generous slice of the chocolate banana cake on a white plate (off-center for elegance).
  • Add one perfect scoop of banana ice cream right beside it.
  • Drizzle a little extra melted chocolate over both the cake and the plate edge.
  • Optional finishing touch: a tiny edible flower or gold leaf for extra elegance, or a few fresh banana slices and a light dusting of cocoa.

Pro Tips for Restaurant-Level Results:

  • Use slightly under-ripe bananas for the slices inside the cake so they hold their shape and caramelize beautifully.
  • The cake can be baked a day ahead; it actually tastes even better the next day.
  • For the most luxurious ice cream texture, churn it in an ice-cream maker if you have one (same ingredients, follow machine instructions).

Enjoy your homemade version of this stunning dessert — it looks and tastes exactly like the elegant plate in the image! Let me know if you’d like a gluten-free version, step-by-step photos, or any adjustments.

https://amzn.to/4s1h1tS

Posted on — 1 Comment

Raspberry Pavlova Recipe with Raspberry Gel Veil — Plated Meringue Dessert

Poetry through pastry: A work of art on a plate, where every detail tells a story of dedication and regional pride.

Capture the essence of summer elegance with this Signature Raspberry Pavlova. Moving beyond the rustic ‘broken’ look of traditional meringues, this plated masterpiece features a delicate fruit veil—a technique that transforms simple raspberry puree into a translucent, silken shroud. It’s a study in texture, balancing a shattered-glass crust with a heart as soft as a cloud.

Recipe

1.Pavlova Base (Swiss meringue) method)

The Swiss method is more stable and less likely to crack, proving a smooth surface for the gel.

  • 150g egg whites
  • 300g caster sugar
  • 5g cornstarch
  • 5g white vinegar or lemon juice
  • 2g fine salt

Method:

  1. Whisk egg whites and sugar in a heatproof bowl over a pot of simmering water(Bain Marie). Whisk until the sugar is completely dissolved and the mixture reaches 50°C (122°F)
  2. Remove from heat and whip on high speed until the bowl feels cool and peaks are stiff and glossy.
  3. Fold in the cornstarch, vinegar and salt.
  4. Pipe 8-10cm rounds with flat tops. Bake at 100°C (212°F) for 90minutes. Turn off the oven and let them cool completely inside with the door cracked.

2. The whipped cream filling

Since pavlova is hollow/ airy, you need a buffer layer of cream to support the weight of the gel veil.

  • 200g heavy whipping cream
  • 20g powdered sugar
  • 5g vanilla bean paste

Method: whip until stiff peaks for. Spoon a generous dollop onto the center of each cooled pavlova.

3. The Raspberry Gel veil

This is the flexible sheet.

  • 250g raspberry puree
  • 50g water
  • 40g caster sugar
  • 4g Agar-agar powder

Method:

  1. Whisk all ingredients in a saucepan. Bring to a rolling boil for 2minutes(required to activate the agar-)agar)
  2. Pour onto a flat, silicone mat lined tray. Tilt to create a layer about 1-2mm thick
  3. Let sit in the fridge for 20minutes. Use a round cutter to create circles larger than your pavlova.

4. Raspberry coulis

  • 200g raspberry puree
  • 50g caster sugar
  • A squeeze of lemon
  • A little bit of water if needed(optional, for consistency)

Method:

  1. Heat the ingredients. Place the raspberry puree, sugar, lemon juice in a small saucepan over medium heat.
  2. Cook until soft. Bring the mixture to a gentle boil and cook for about 5 to 10 minutes, stirring occasionally, until the the sugar is completely dissolved.
  3. Blend. Remove from the heat and transfer the mixture to blender or food processor. Blitz until completely smooth.
  4. Adjust and store. Check the consistency and taste. If it’s too thick, add a little water, add more sugar if desired.

4.Fresh Berry Garnish.

  • 150g fresh raspberries
  • 100g fresh blackberries or blueberries
  • Small mint leaves or micro greens for the top

Assembly to match the image

  1. Place the pavlova on a dark plate.
  2. Top with smooth layer of whipped cream
  3. Gently lift a circle of raspberry gel veil and drop it over the cream so it ripples down the sides.
  4. Surround the bas with 150g berries.
  5. Garnish with the tiny dots of raspberry coulis and micro mint leaved.

https://amzn.to/4lN3AMt

Posted on

French Apple Tart Recipe — Classic & Allergy-Friendly Version

Looking for a delicious apple tart that fits every diet? This easy recipe has a gluten free, nut free, and dairy free version.

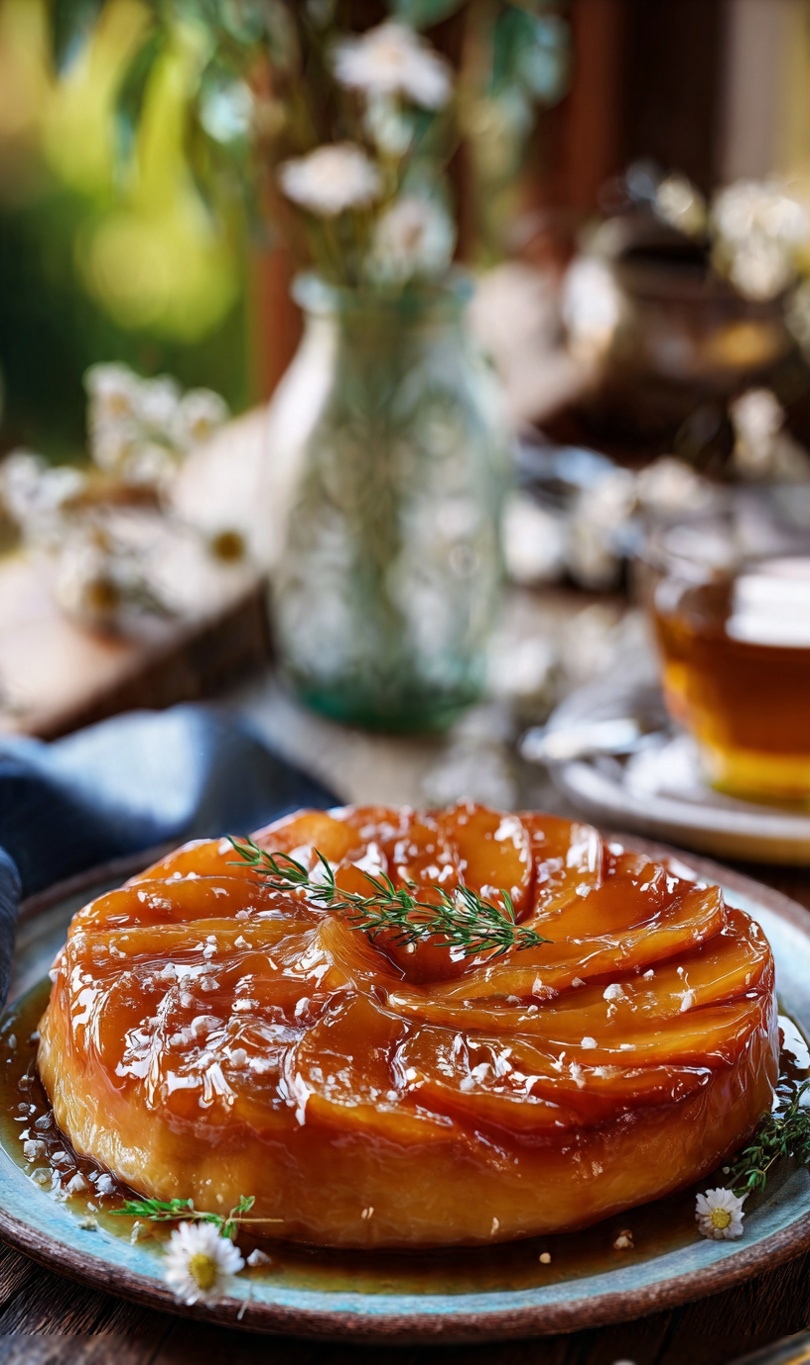
This classic French style apple tart features thin, tender apple slices arranged over a buttery, flaky pastry, finished with a glossy apricot glaze.

It requires roughly 25 minutes of prep and 40 minutes of baking, serving 8 people. The key to elegant dessert, is layering apple slices to create a beautiful, caramelized, rustic look.

RECIPE

Pastry

  • 275g plain flour
  • 175g cold butter, cubed
  • 1 tbsp caster sugar
  • 50ml cold water (approx.)

Filling and glaze

  • 5-6 large cooking apples
  • 100g caster sugar
  • 1 egg (for wash)
  • 2 tbsp apricot jam (for glaze)

Instructions

  1. Prepare Dough: Combine flour and sugar, then rub in cold butter until it looks like breadcrumbs. Mix in cold water until a dough forms. Chill for 30 minutes.
  2. Prepare Apples: Peel, core, and slice the apples thinly (about 1/8 to 1/2 inch).
  3. Assemble: Preheat oven to 200°C (390°F). Roll out the pastry and place it into a tart tin. Arrange apples in concentric circles or overlapping rows.
  4. Bake: Sprinkle with sugar. Bake for 40 minutes until golden brown.
  5. Glaze: Melt apricot jam with a little water, then brush over the warm apples for a shiny finish.

Tip

Use a mix of sweet and sour apples to balance the flavor, and bake at 400°F (200°C) initially to set the crust before lowering to 350°F (175°C) for calamelization.

Key Dairy – free Substitutes (Vegan apple tart)

For pastry: use a firm vegan butter block in a 1:1 ratio for the diary butter. Cold coconut oil(solid state) also works well for a very crisp, short texture.

For the Egg: Brush the pastry edges with a mixture of non-dairy milk like almond or soy, and a splash of maple syrup or agave to achieve a golden, shiny finish without eggs.

For the Glaze: most apricot jamsare naturally dairy-free, but ensure yours doesn’t contain hidden dairy-derived thickeners.

Tips

  • Temperature is critical: plant based butters often melt faster than dairy butter. Freeze the vegan butter for 10-15minutes before rubbing it into the flour to ensure a flaky crust.
  • Pastry handling: if the dough feels too dry when using coconut oil or vegan butter, add 1 tablespoon of ice cold water at a time until it just comes together.
  • Serving: serve the tart with a scoop of coconut milk-based vanilla ice cream or a dollop of cashew whipped cream for a fully vegan dessert experience.

Gluten – Free apple dessert recipe

Allergy friendly holiday desserts

Yields: 1 9-inch tart (8 servings)
Prep time: 30 minutes (plus 1 hour chilling)
Bake time: 45–55 minutes

  1. Ingredients
  • For the Crust:
  • 2 cups Gluten-Free All-Purpose Flour (Ensure it contains xanthan gum; if not, add ½ tsp)
  • 1 tbsp Sugar (Granulated or coconut sugar)
  • ½ tsp Salt
  • ¾ cup (12 tbsp) Cold Vegan Butter Block, cubed
  • 1 Egg (Acts as a critical binder for GF dough; use a “flax egg” for a fully vegan option, though it may be more crumbly)
  • 2–4 tbsp Ice Water (Use only as much as needed)
    For the Filling & Glaze:
  • 4–5 Large Apples (Mix Granny Smith for tartness and Gala or Honeycrisp for sweetness)
  • ¼ cup Sugar (For sprinkling)
  • 2 tbsp Apricot Jam or Jelly
  • 1 tbsp Lemon Juice (To prevent browning)
    2. Step-by-Step Instructions
  • Make the Dough: In a large bowl, whisk the flour, sugar, and salt. Cut in the cold vegan butter using a pastry cutter or fork until it resembles coarse crumbs.
  • Bind and Chill: Stir in the beaten egg. Add ice water, one tablespoon at a time, until the dough just holds together when pressed. Shape into a disc, wrap in plastic, and refrigerate for at least 1 hour to allow the GF flour to hydrate.
  • Prep the Apples: Peel, core, and slice apples into thin wedges (about ⅛ inch). Toss with lemon juice.
  • Roll the Crust: Roll the chilled dough between two sheets of parchment paper to about 12 inches in diameter. Peel off the top sheet, flip the dough into a 9-inch tart pan, and gently press it into the edges. Trim any excess.
  • Assemble: Arrange apple slices in tight, overlapping concentric circles starting from the outside. Sprinkle with sugar.
  • Bake: Bake at 375°F (190°C) for 45–55 minutes until the crust is golden and apples are tender.
  • Glaze: Melt the apricot jam with a splash of water and brush over the warm tart for a professional, glossy finish.

Troubleshooting

Continue reading French Apple Tart Recipe — Classic & Allergy-Friendly Version