MICHELIN STAR SERIES · TECHNIQUE
Why the quenelle separates home cooks from professionals
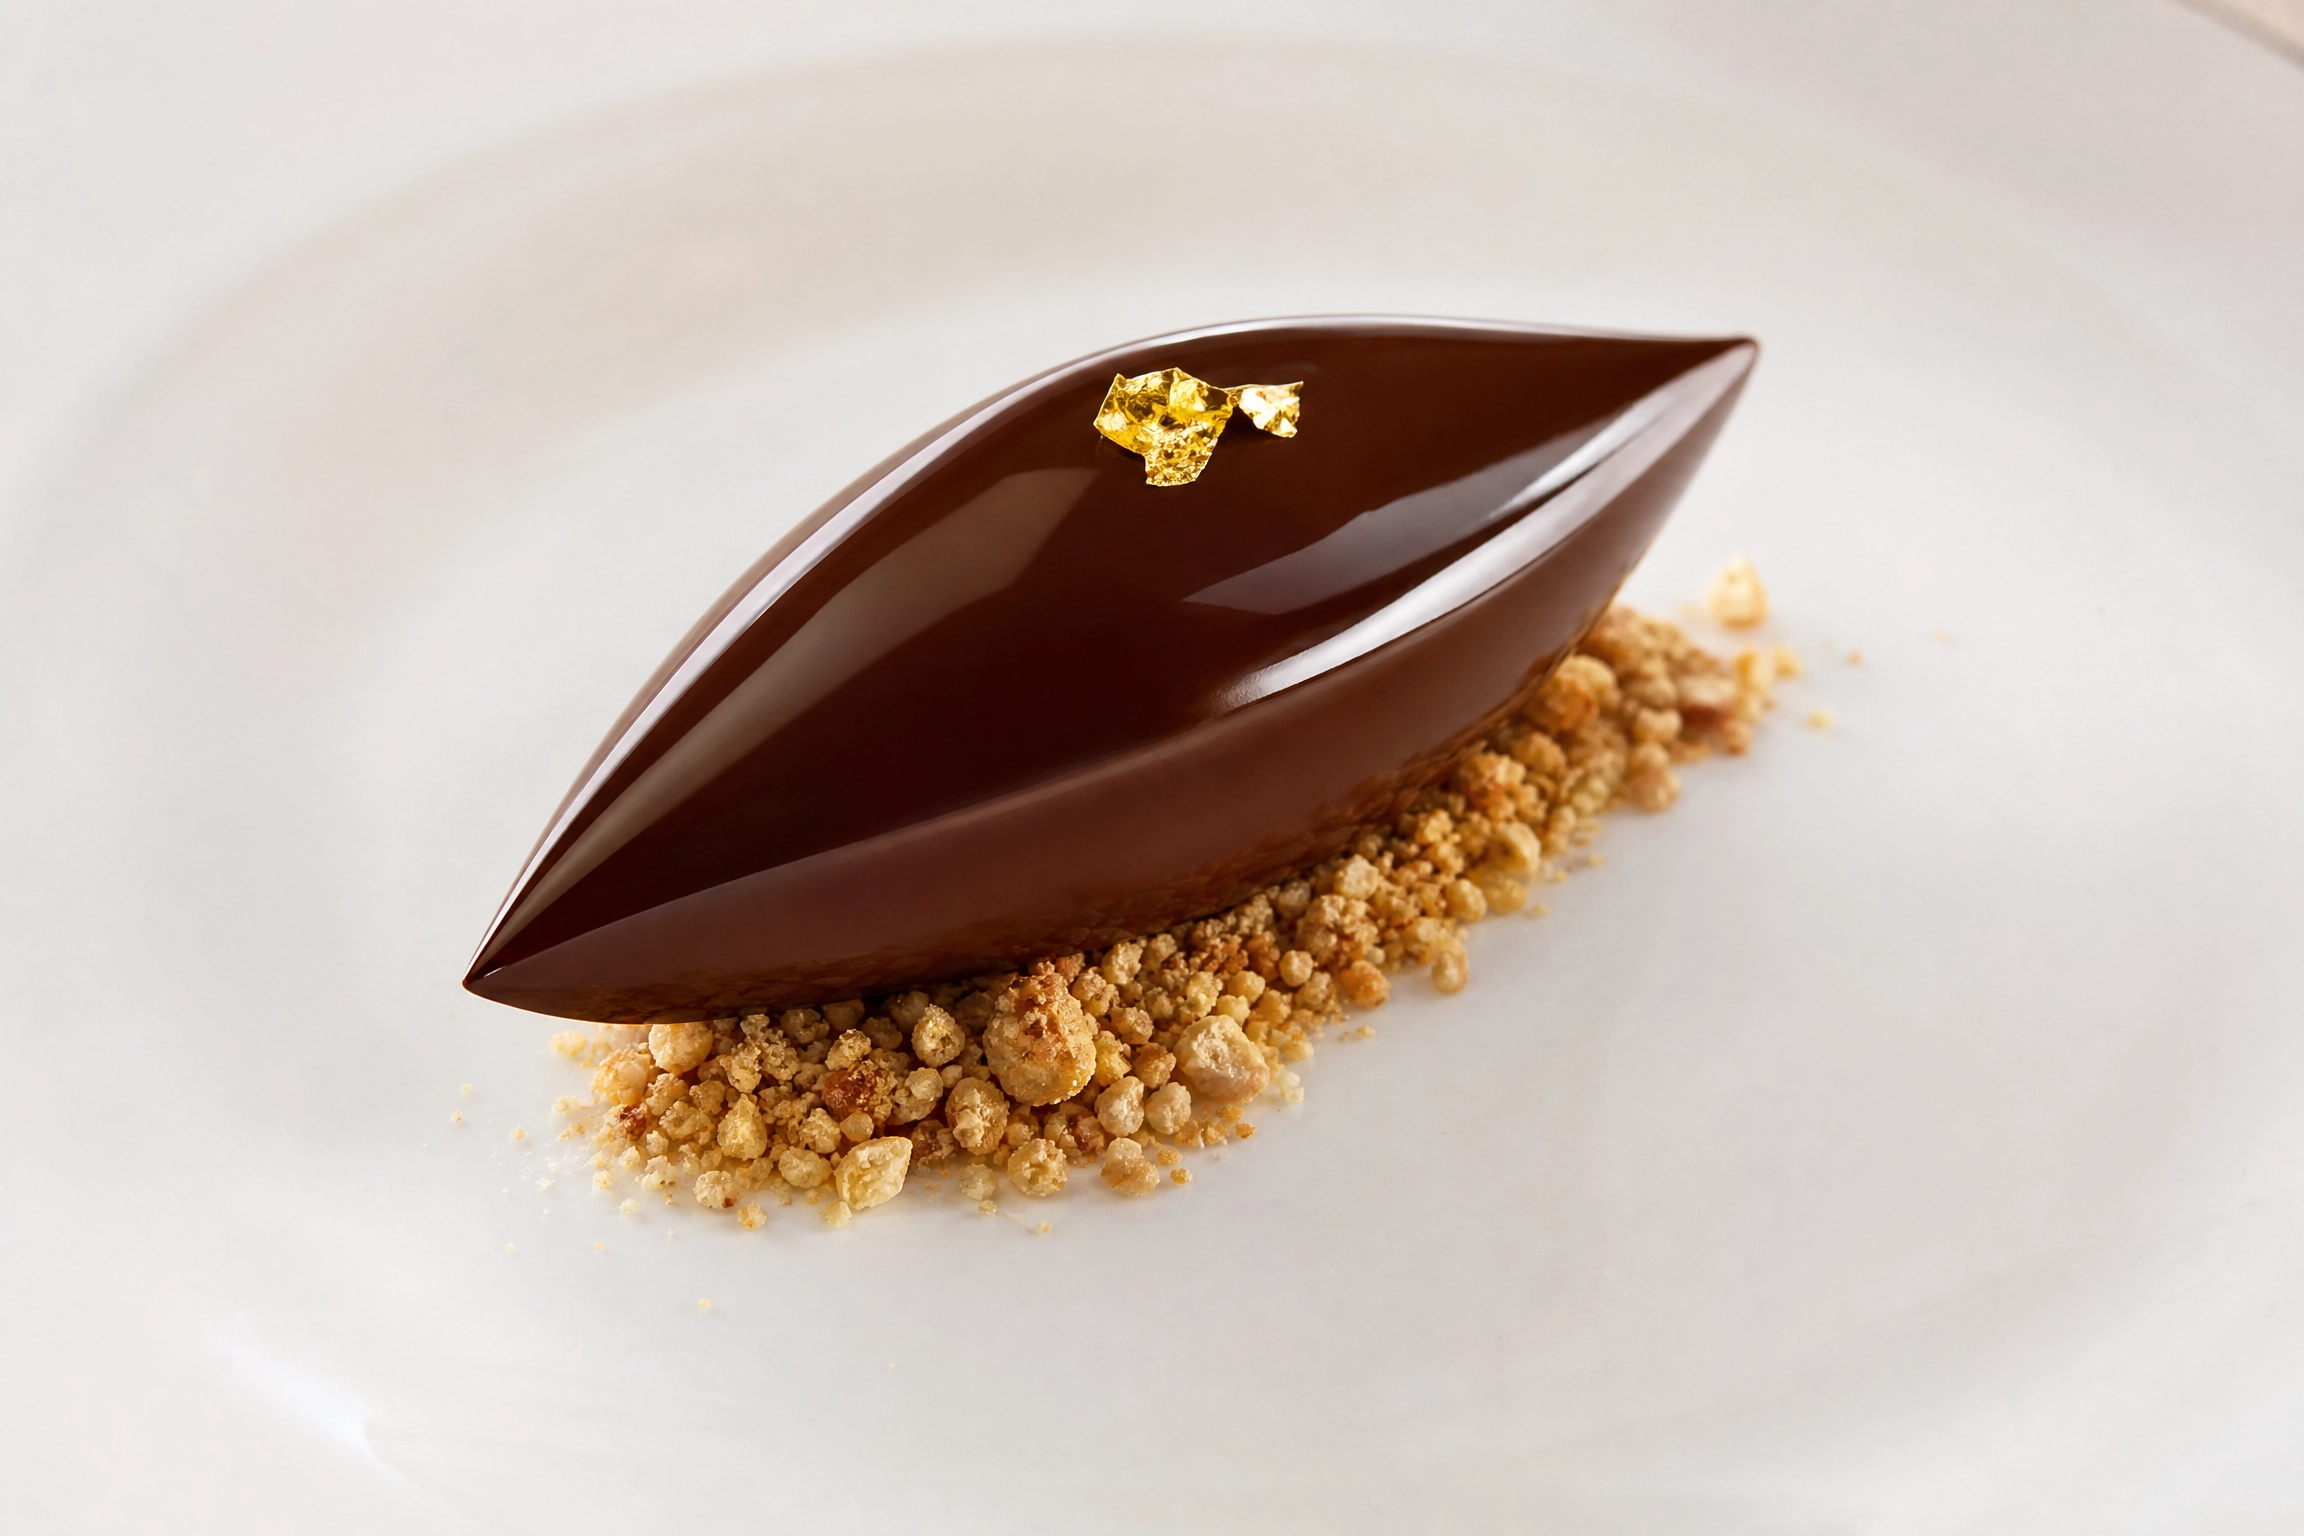
Nothing signals a professional pastry bench faster than a clean quenelle. That elegant, three-sided oval of ice cream, mousse, or ganache sitting on a plate looks like a small miracle of shaping — but it’s not sculpting, and it’s not luck. It’s a controlled, repeatable motion, and once your hands learn it, you’ll never go back to an ice cream scoop for plating again.
The two spoons (or three, if you’re precise)
You need two identical dessert spoons, ideally oval-bowled rather than round. Warm both spoons slightly under hot water and dry them — a cold spoon drags and tears rather than gliding. Some chefs use a third spoon purely to release the quenelle onto the plate without fingerprints on the surface; it’s a nice-to-have, not a requirement when you’re starting out.

The motion, broken into three passes
- First pass: Drag the spoon across the surface of the mixture at roughly a 30° angle, scooping a shallow curl. Don’t press down — let the spoon’s edge do the work.
- Second pass: Transfer the curl to the second spoon, reshaping it with a single smooth motion rather than repeated scraping. Each extra pass makes the surface rougher, not smoother.
- Third pass: Pass it back once more to tighten the oval and sharpen the three edges. Stop here — over-handling melts the surface and kills the sheen.

Temperature is doing more work than your hands are
Most failed quenelles aren’t a technique problem — they’re a temperature problem. Ice cream and frozen mousse need to sit out for a few minutes until they’re just pliable, not hard and not soupy. Ganache or cream-based quenelles need to be cool enough to hold shape but not so cold that they crack at the edges. If your mixture is tearing instead of curling, it’s almost always too cold; if it’s collapsing flat, it’s too warm.
Plating it
Place the quenelle with its pointed ends running diagonally across the plate rather than straight across — it reads as more dynamic and intentional. Set it down in one motion; don’t nudge it into position afterward, which flattens the sharp edges you just built. Pair it against a contrasting texture nearby — a tuile, a crumble, a swoosh of sauce — so the smooth curve of the quenelle has something to play against.

This technique is one of the five covered in full, with step-by-step photos, in our free Michelin-Star Plating Guide — grab it here.
Discover more from ALL COOKINGS
Subscribe to get the latest posts sent to your email.